This is a set of STL files for a 3D printed thermoptic Pistol featured in the live action 2017 film Ghost In The Shell.
Also see Assembly Instructions
At Duplex Designs we do love a great sci-fi weapon. Although our favourite has got to be Deckard’s blaster from the movie Blade Runner the pistol seen in the live action movie Ghost in The Shell really stood out.
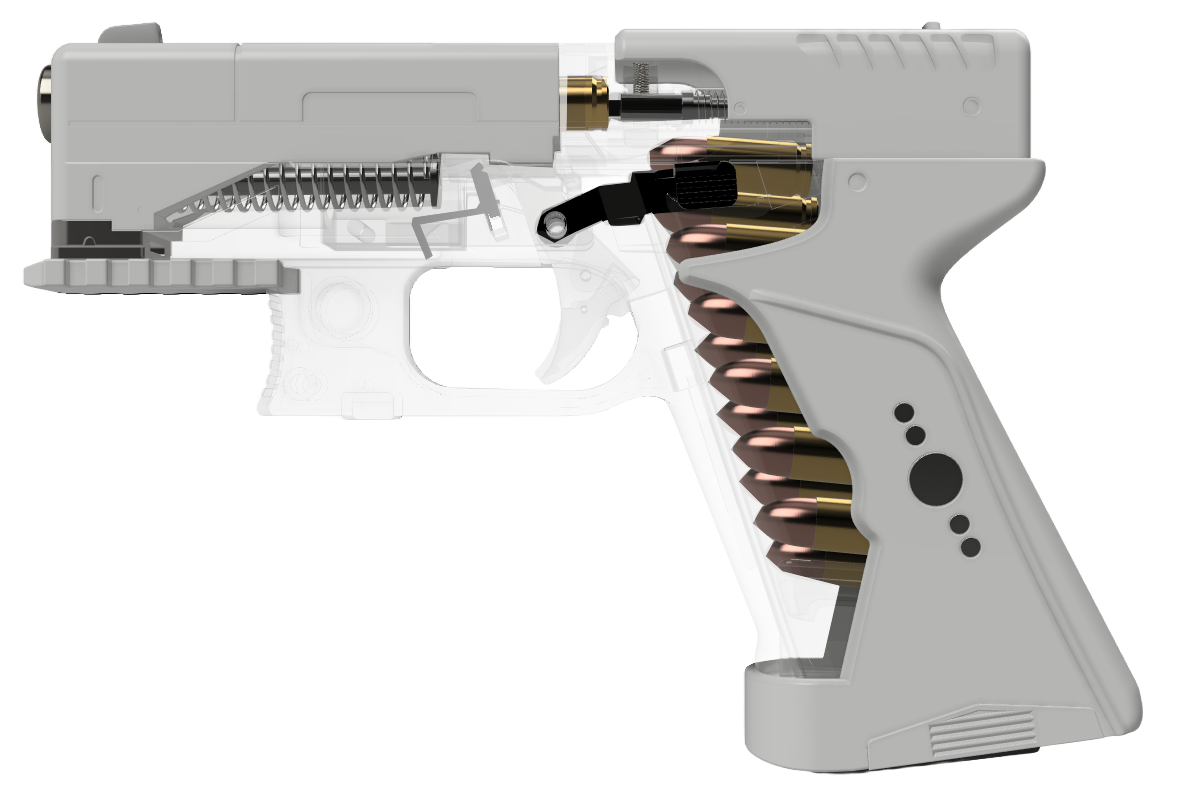
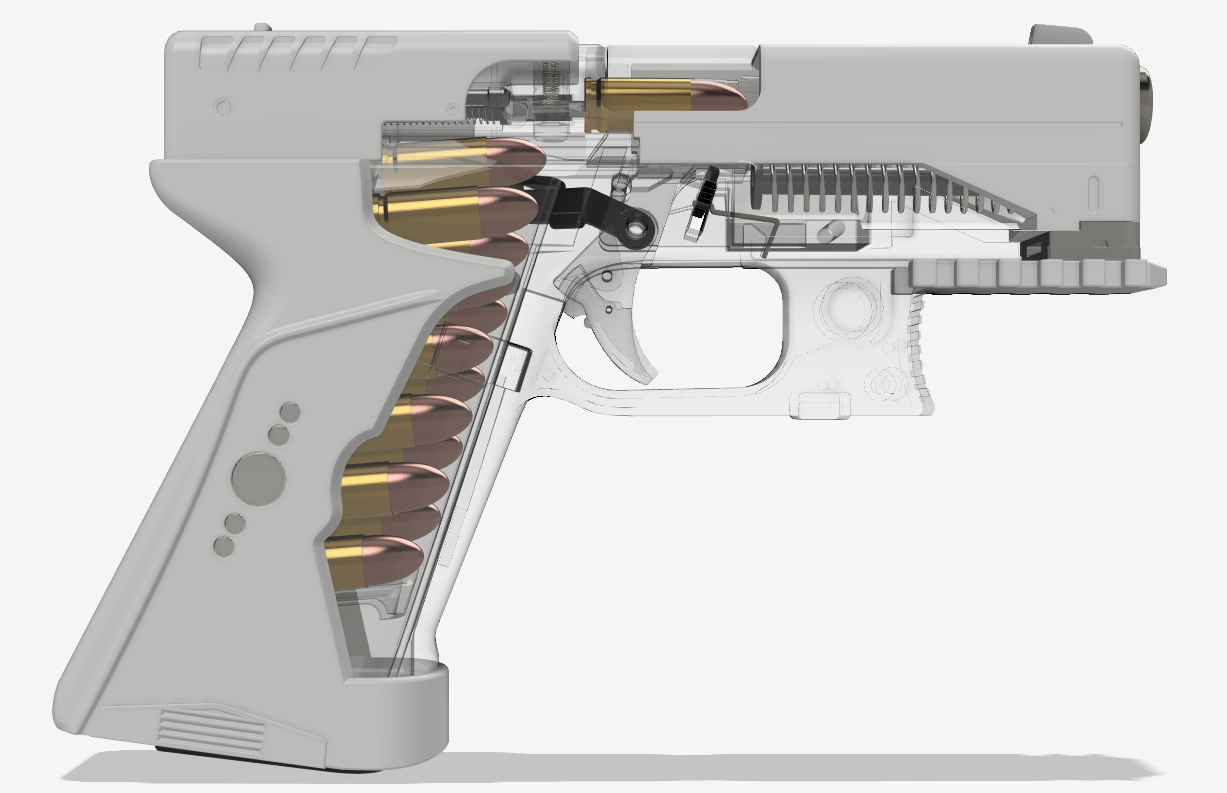
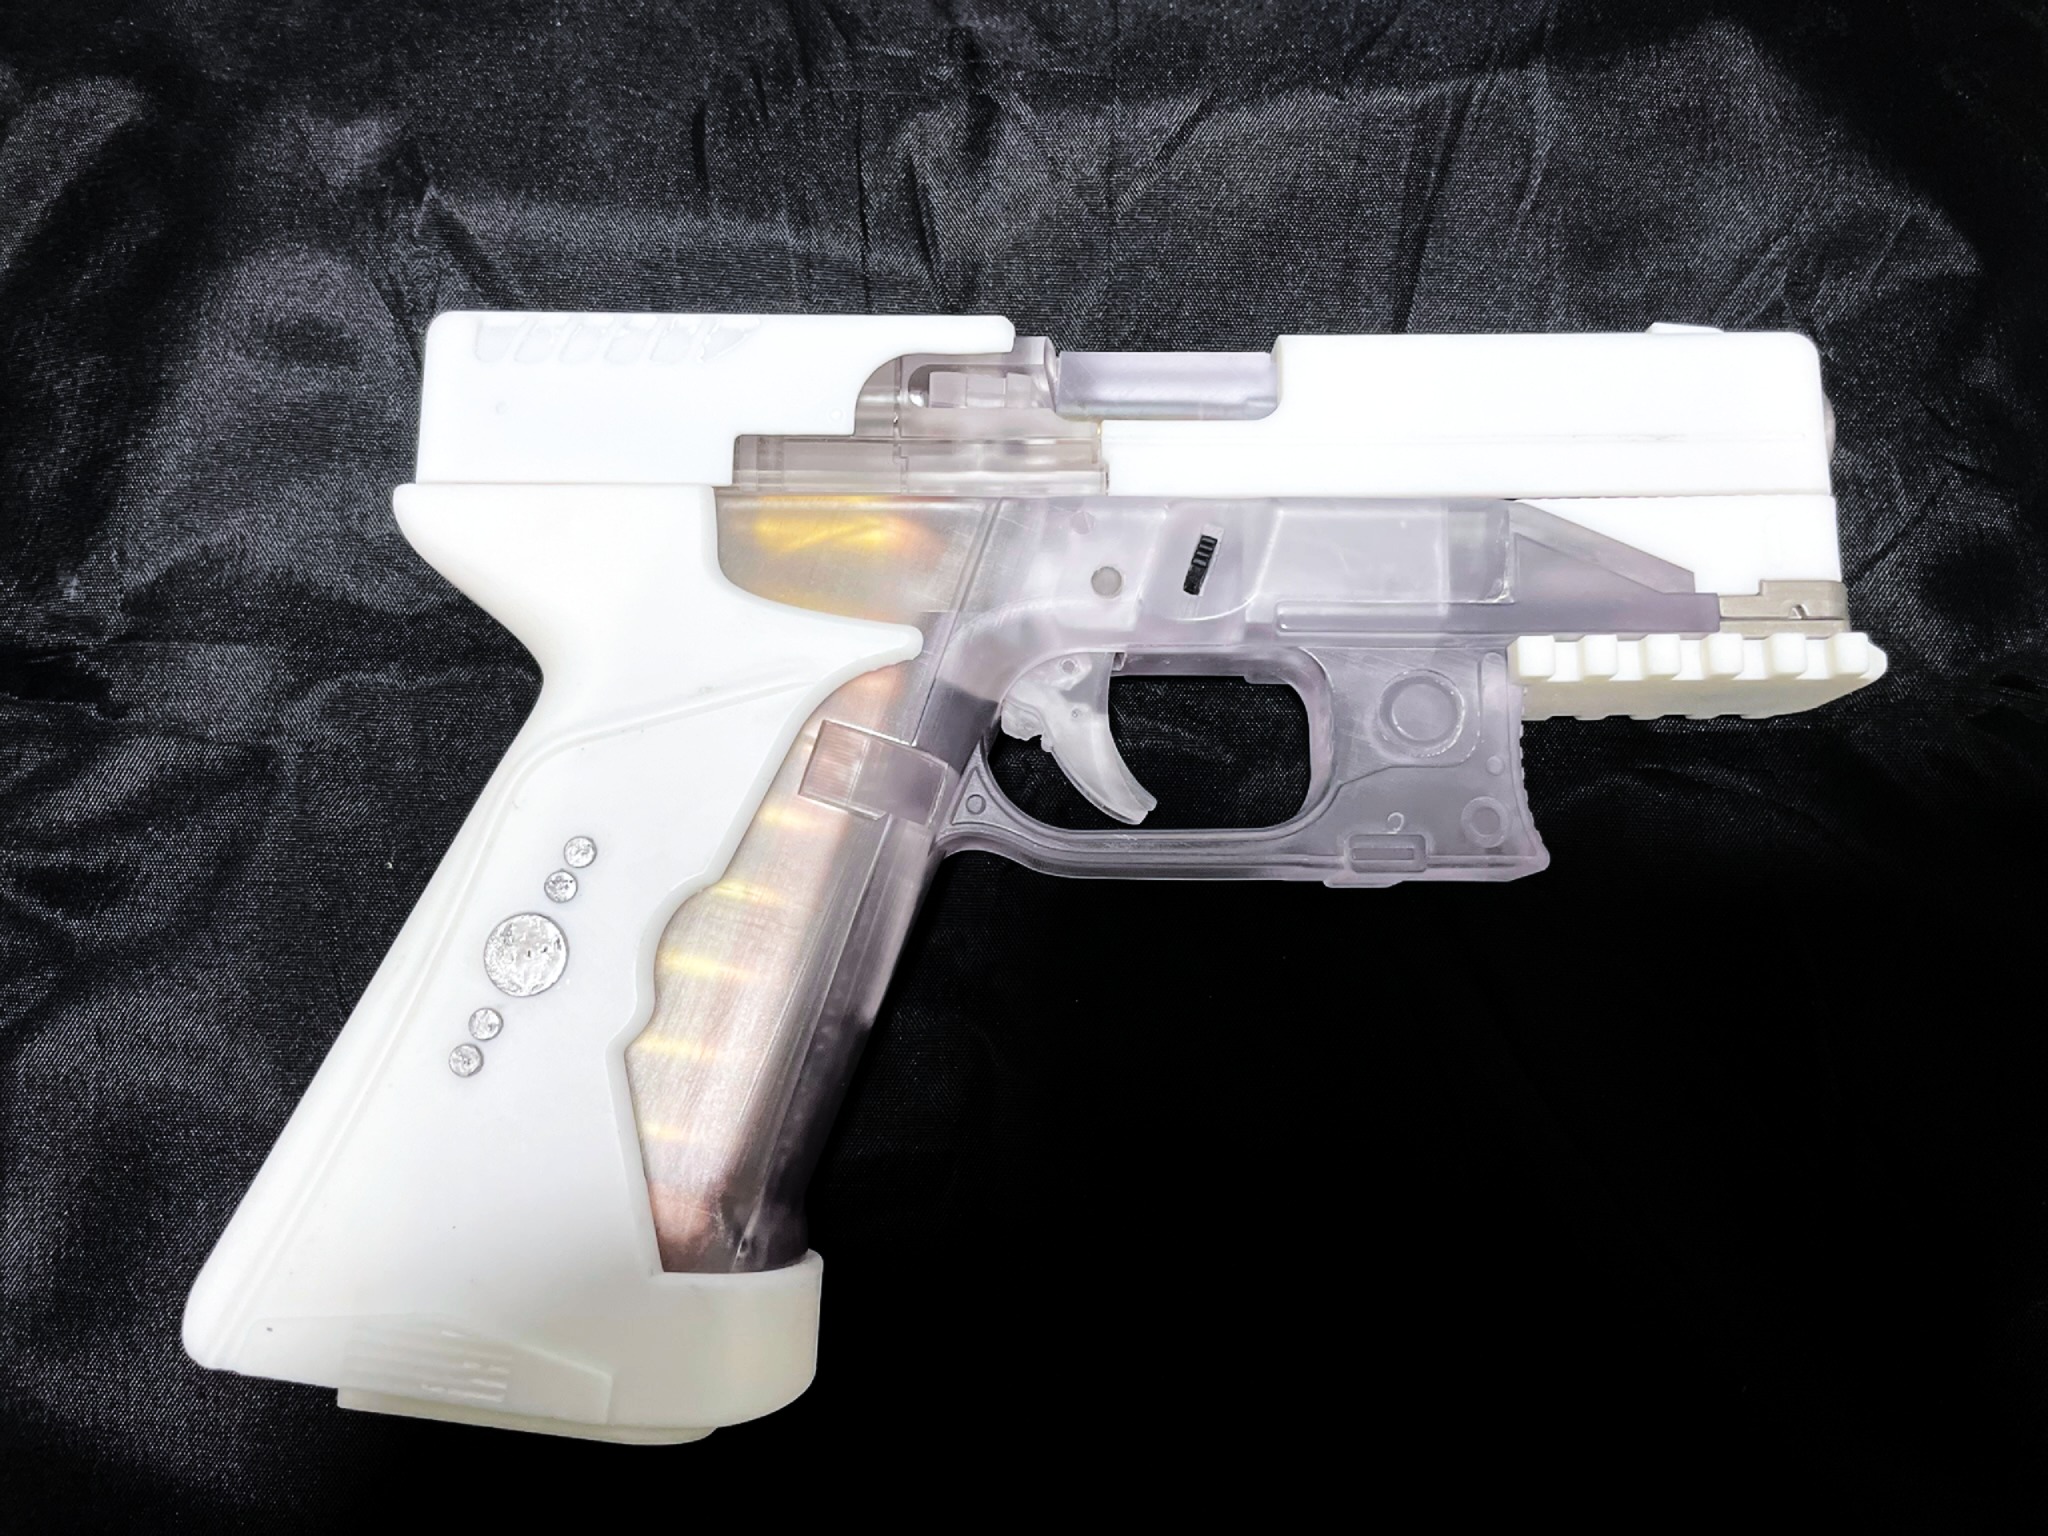
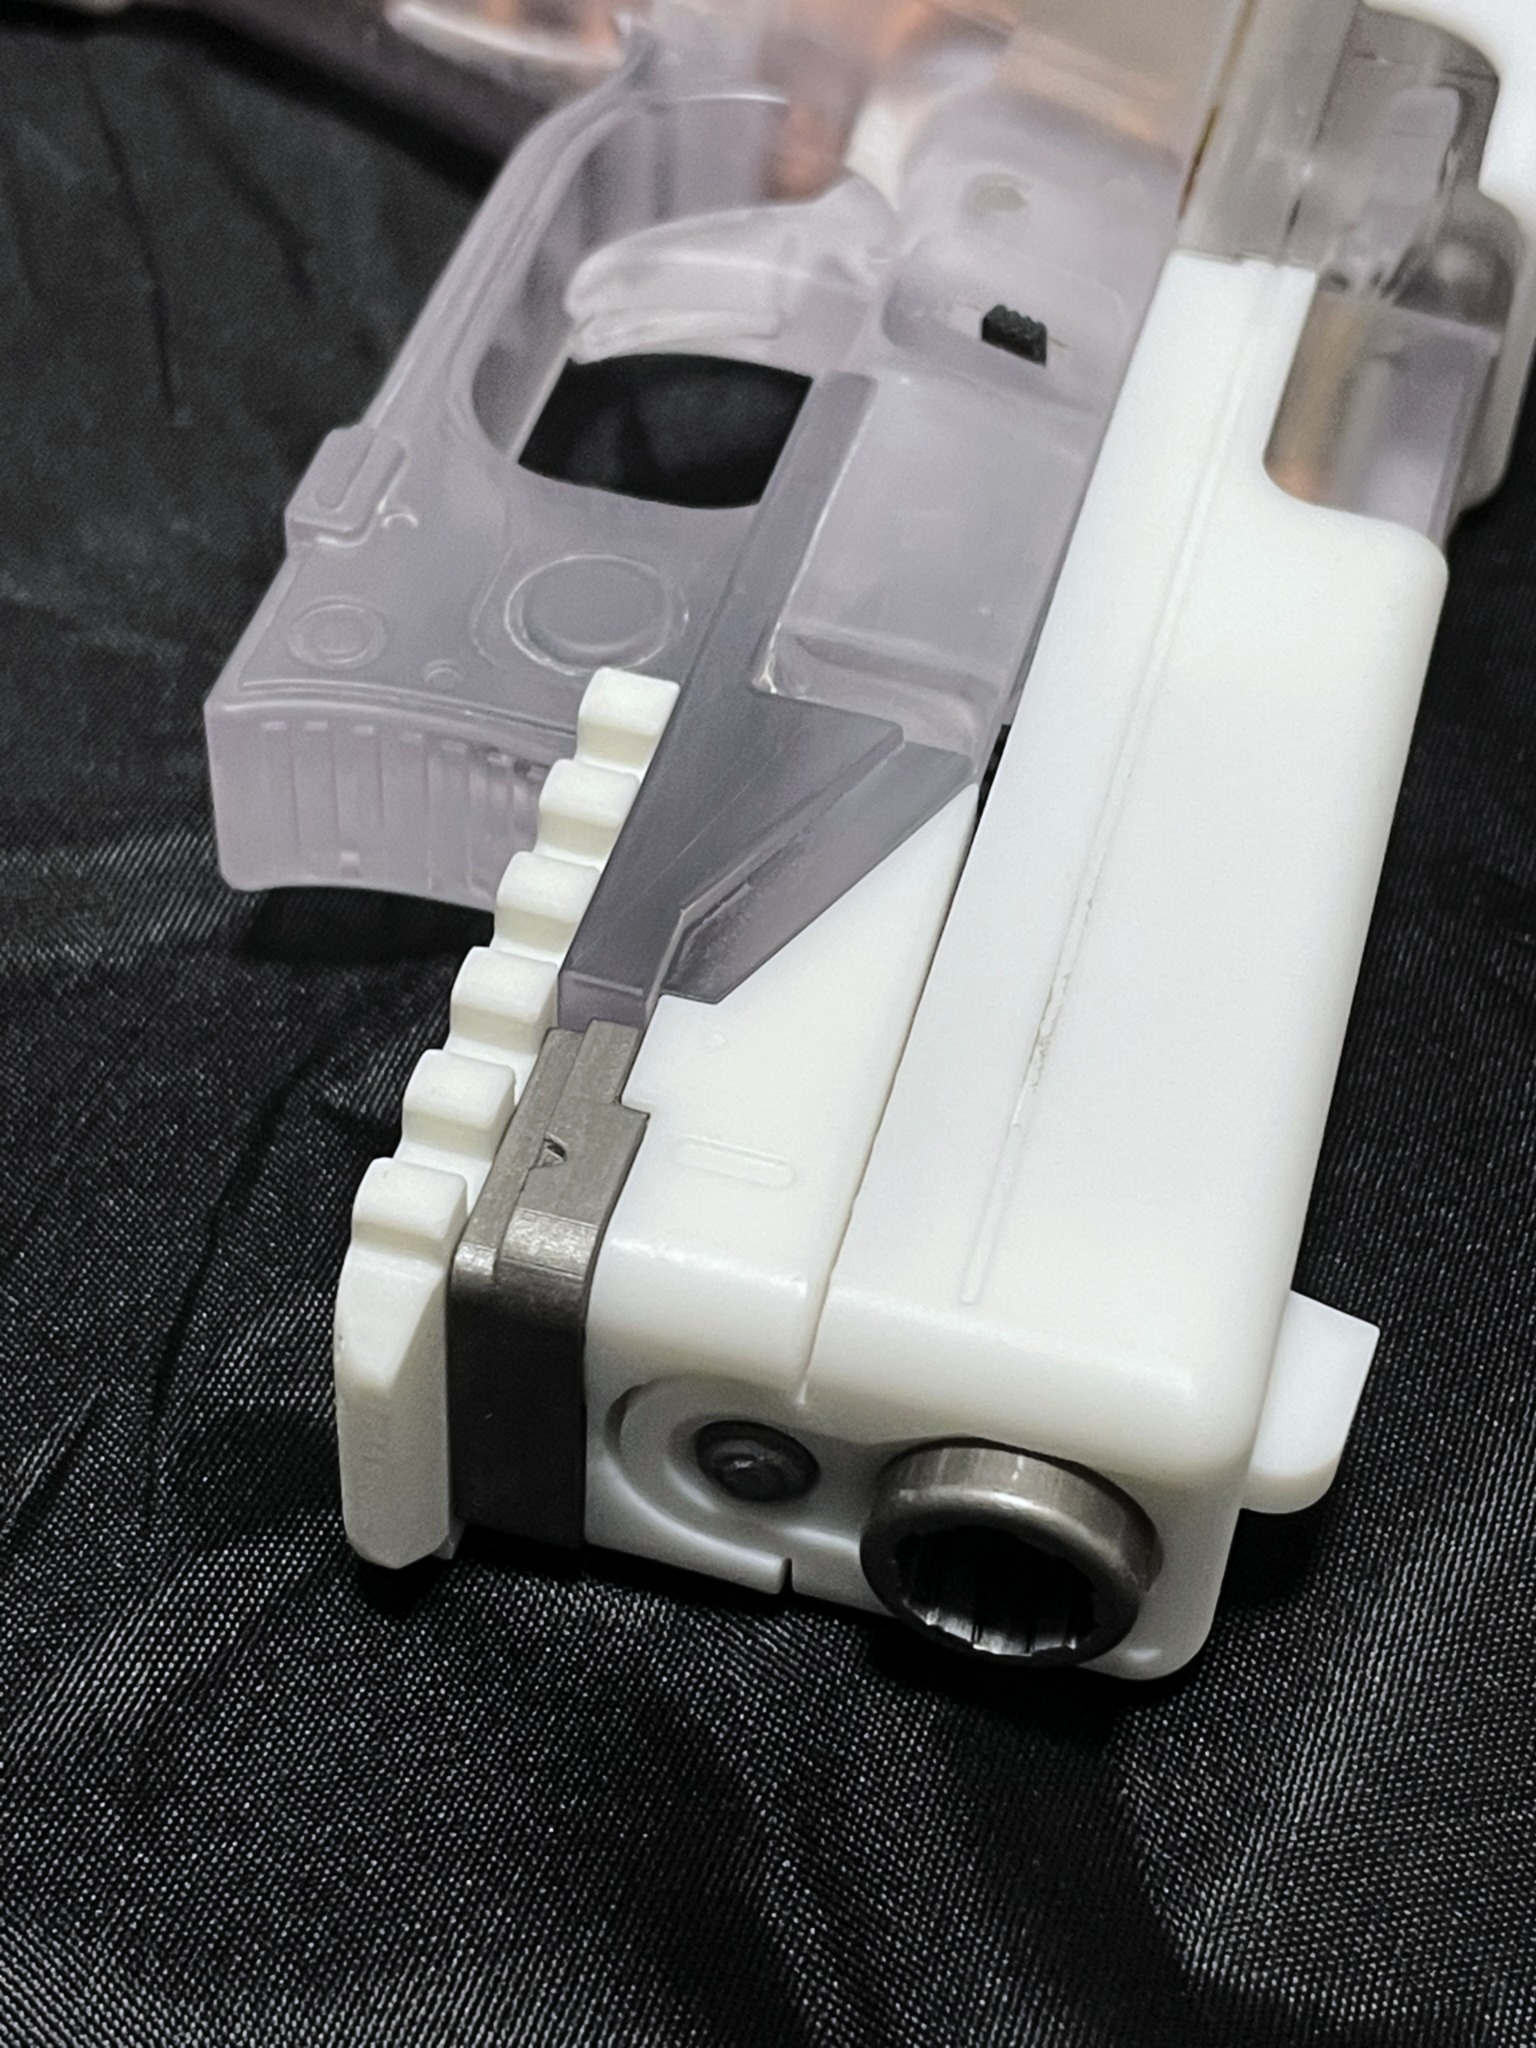
Major Mira Killian / Motoko Kusanagi's thermoptic pistol is interesting as it appears in two states. A standard pistol when she is not in the active thermoptic suit but transforms into a beautiful white and transparent weapon once the suit is activated.
OK, we are a little late to the party with this model as the movie came out in 2017, but we believe the weapon is iconic enough to warrant its creation here in 2026.
There is not a fantastic amount of information available on this pistol and its screen time is limited (So screen shots are not plentiful) but we do know that the pistol was based on a Glock 19.
When we wanted to build a thermoptic pistol for our own collection we were disappointed in what was available either for free or for sale. Most models were nowhere near the correct size, and we like our models to be screen accurate and consist of many parts.
So, we started to design a new pistol based on the available screen shots and stunt weapon photos and used a Glock 19 as the starting point to ensure that our finished model was as close to that used (or at least envisioned) in the movie.
But there are discrepancies between the pistol’s representation depending on what we look at.
The Duplex Designs model is based on actual Glock 19 dimensions and is so accurate you can actually use real (or replica) Glock parts.
There is minimal glueing required. Most parts lock together just like a Glock assembly.
We believe that this model is the most detailed and has the highest part count of all those available currently.
NOTE: We have made a change to the position and geometry of the barrel to avoid people trying to do silly
things with real Glock parts and making a dangerous gun.
Yes, you can fit a Glock slide or barrel, but the slide will be in the wrong place and would not function correctly.
Because of the level of detail and number of parts this model is not suitable for beginners. You will need a proficient level of skill in 3D printing and modelling to do justice to this model.
Part tolerances are pretty much the same as an actual Glock so depending on what you create the parts with you may need to do some sanding and finishing to get parts to fit.
For example, FDM printing at 0.08mm layer height using a 0.4mm nozzle is good enough for a great fit for the
assembly but as soon as you start to use resin parts the differences in resin shrinkage and tolerance will start to
show.
NOTE: Although the model contains lots of detailed parts it should not be expected that final build will perform all the mechanical actions expected of the real pistol.
Technically, if all the materials were suitably strong and accurate the model would be able to cycle the slide and load and eject the rounds. However, we have omitted the ejector pin so that action will not work and you stand a good chance of breaking things if you try and rack the slide.
Please consider this a static model. Yes, you can field strip and rebuild this pistol just like the real Glock 19 but please use it for display purposes only.
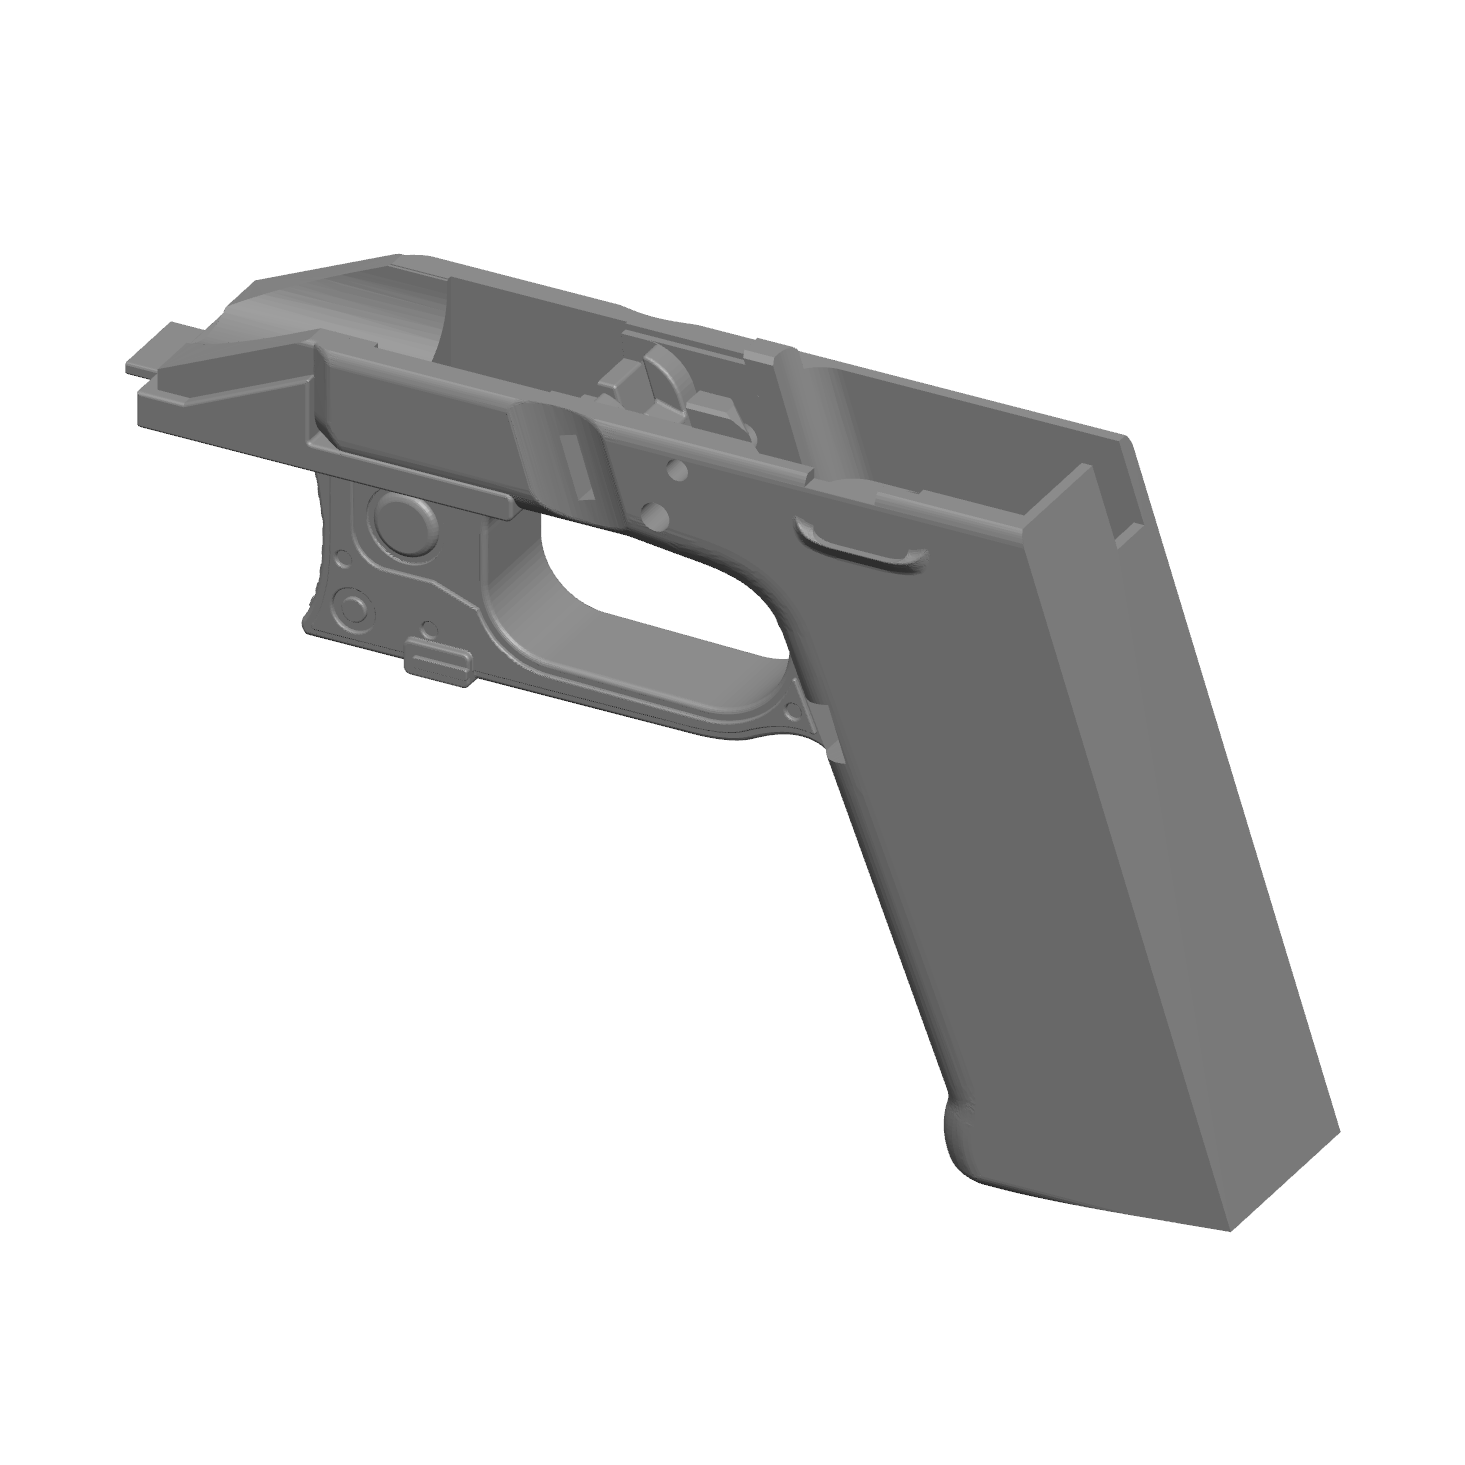
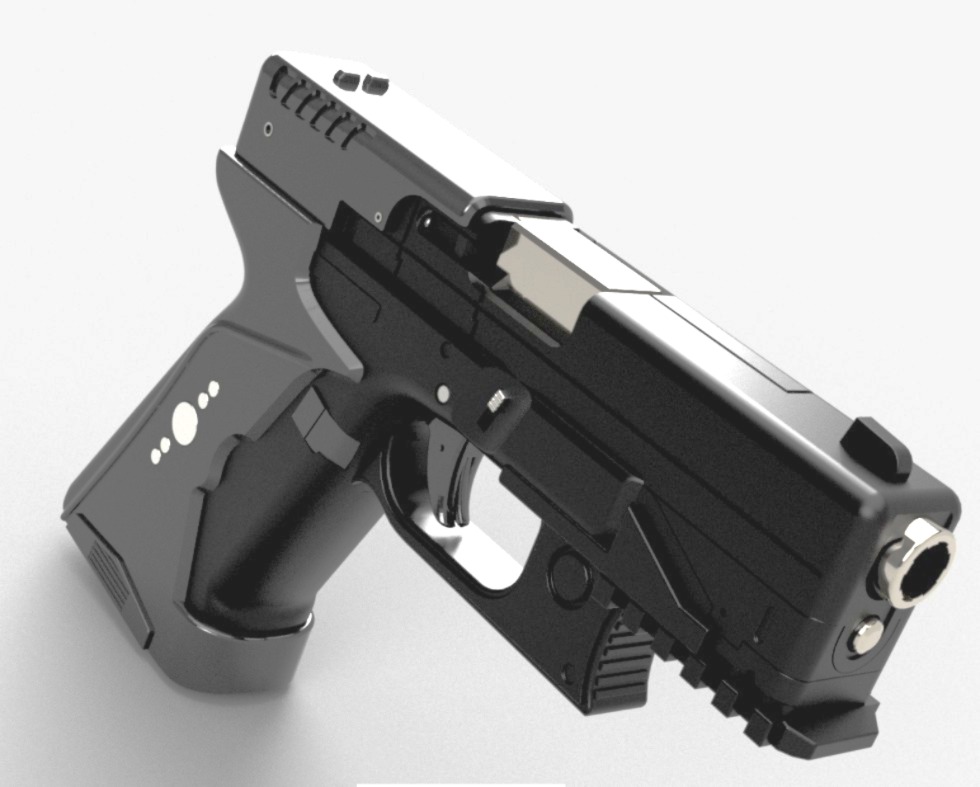
Non-Thermoptic
As this is mostly black and is non transparent you do have the options here of omitting a lot of the internal details.
Choices:
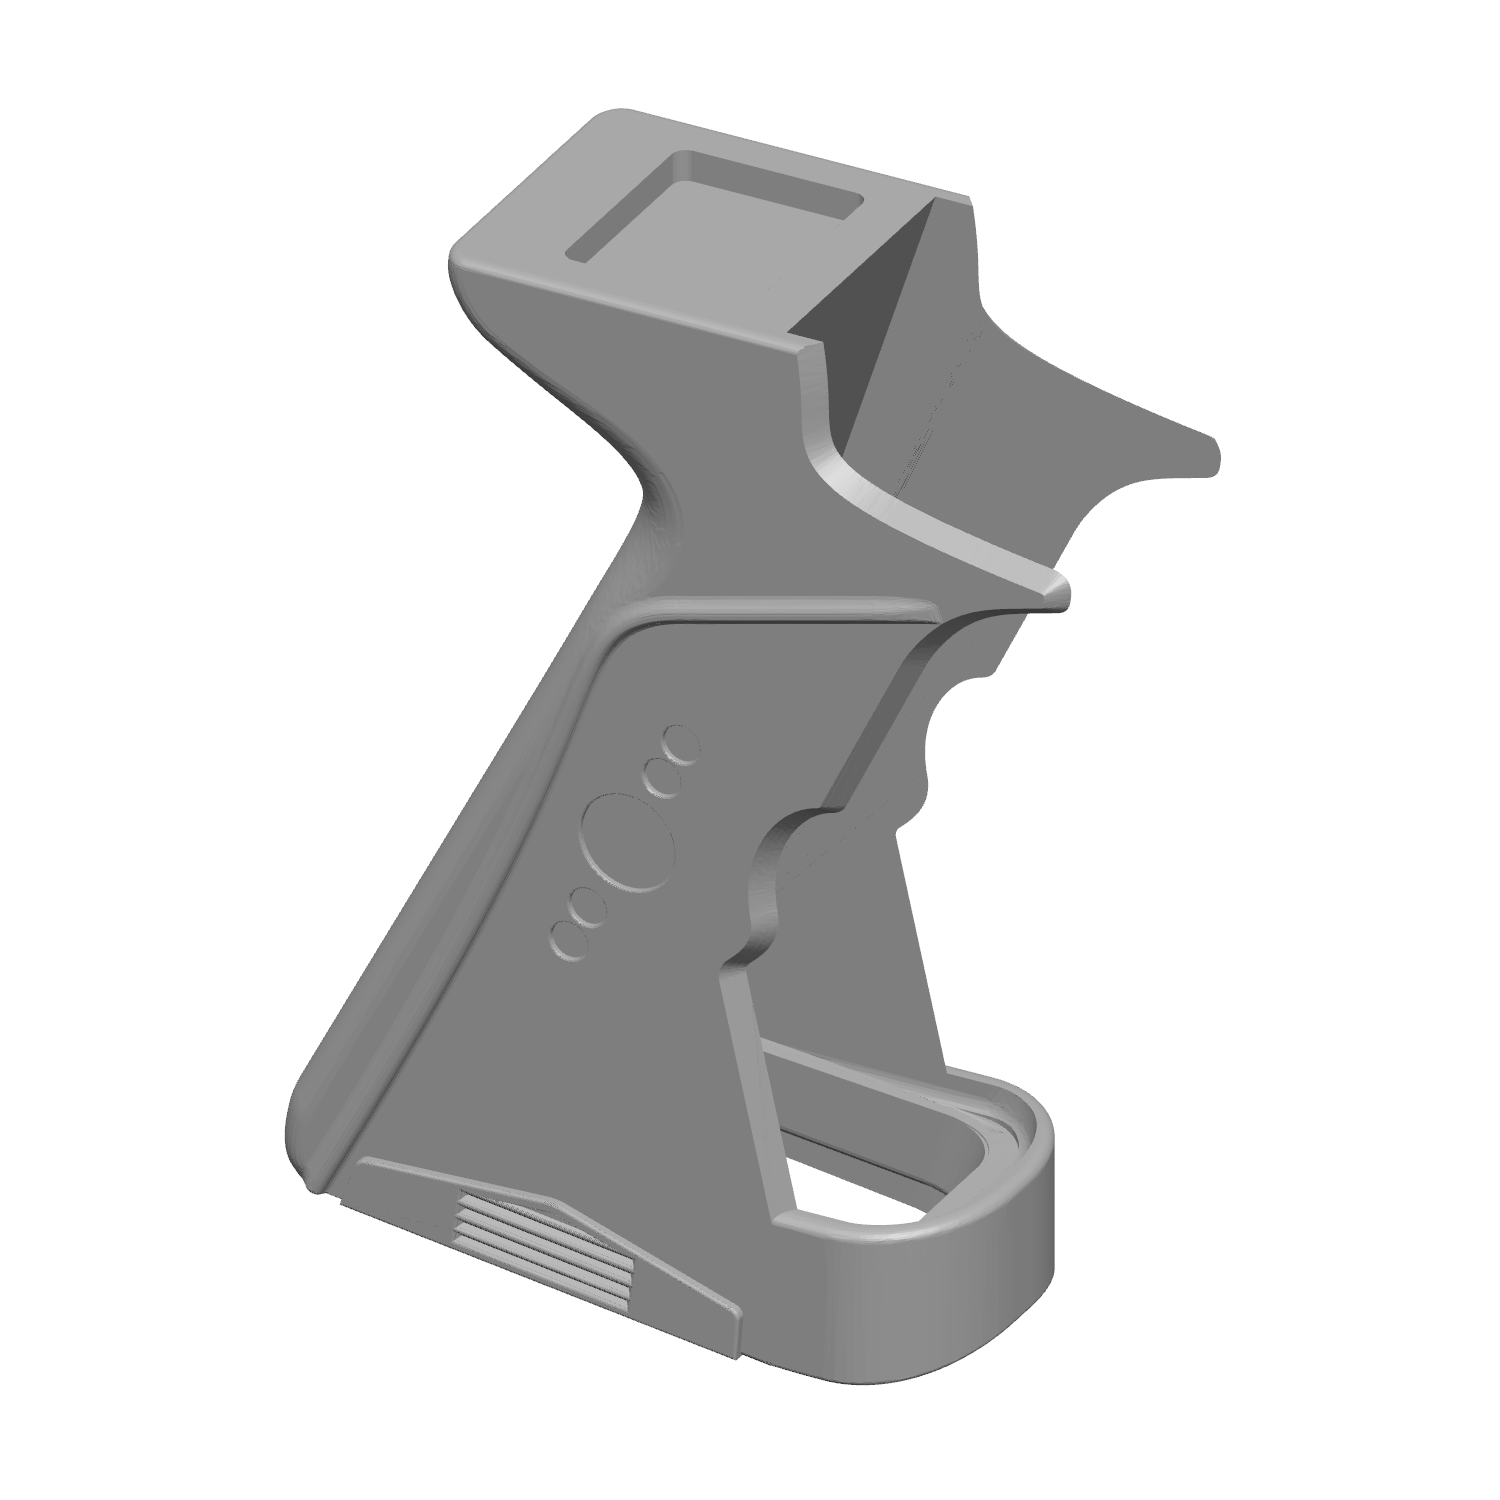
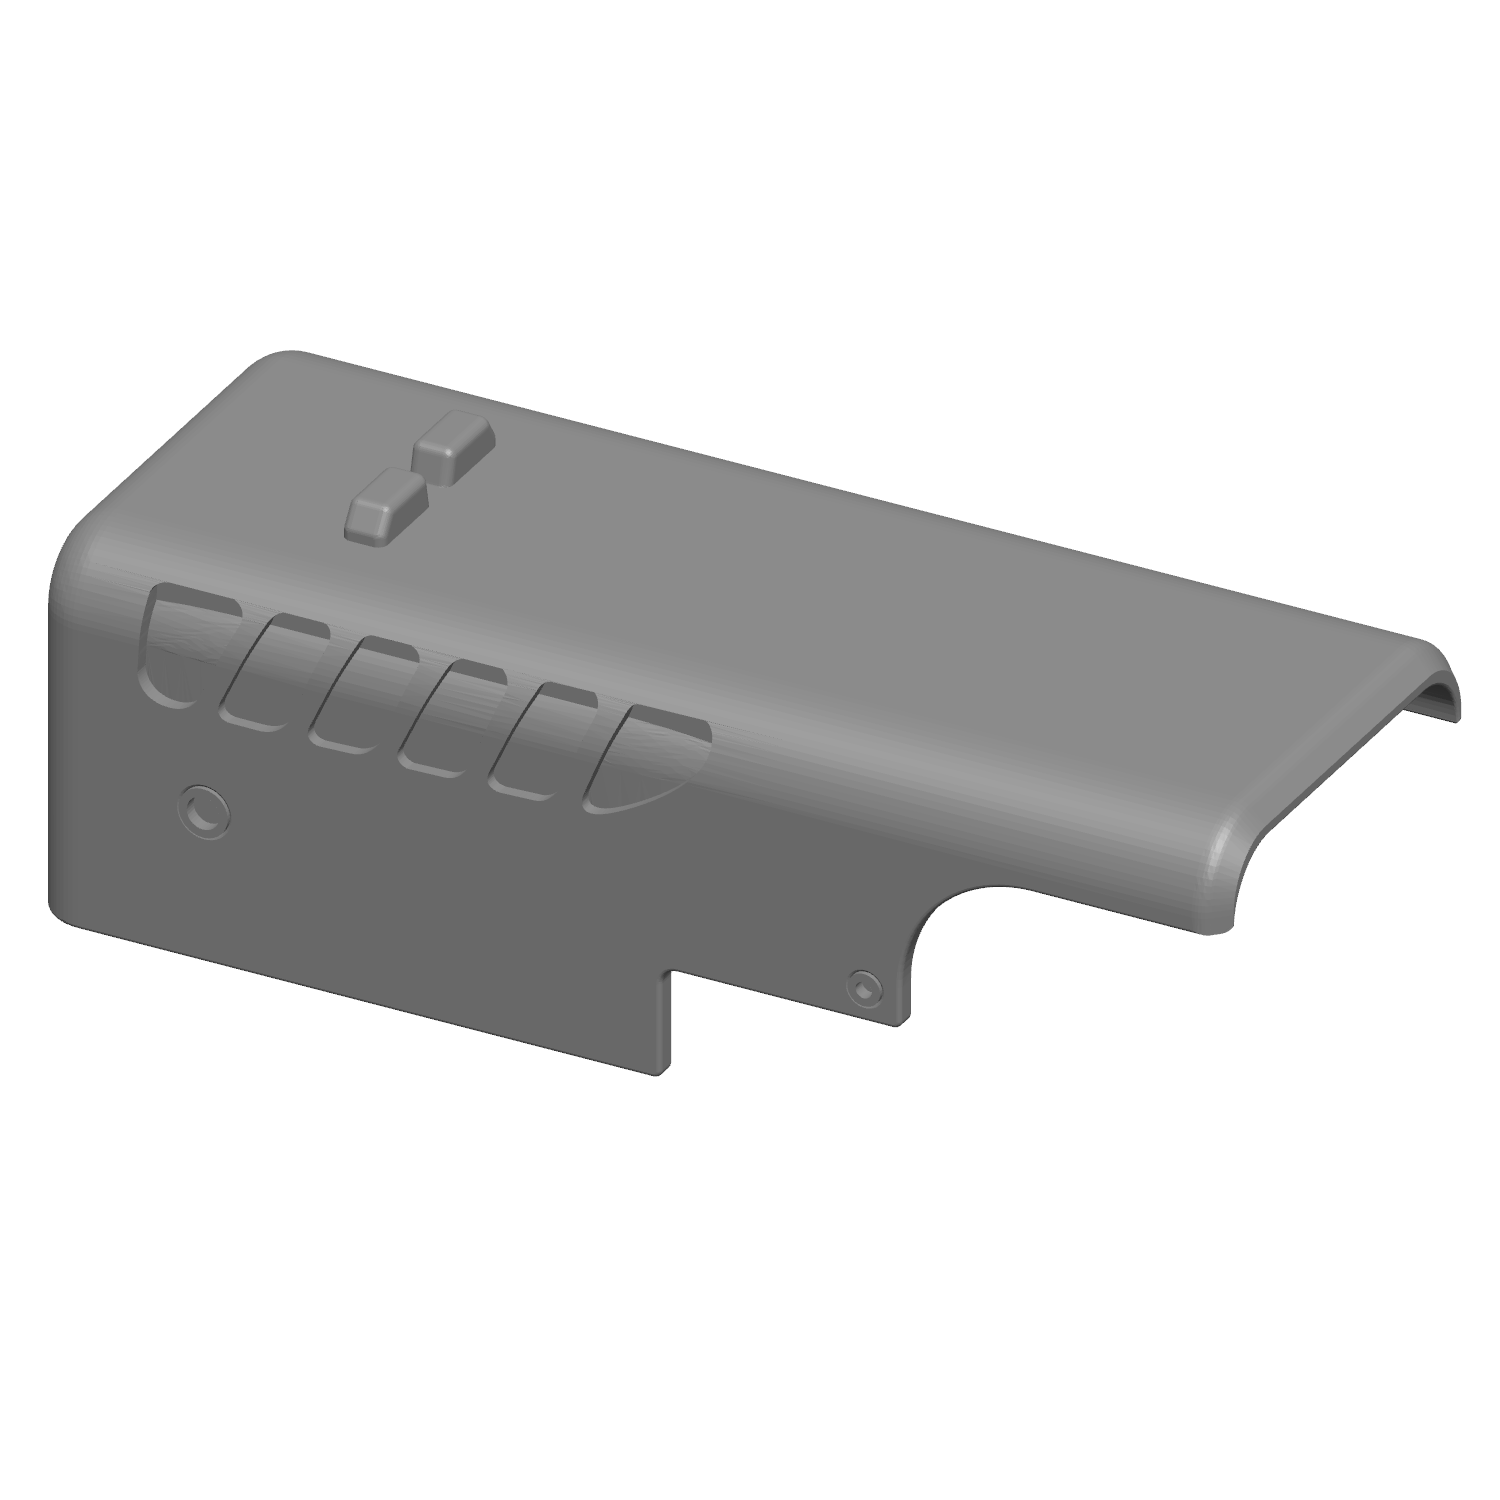
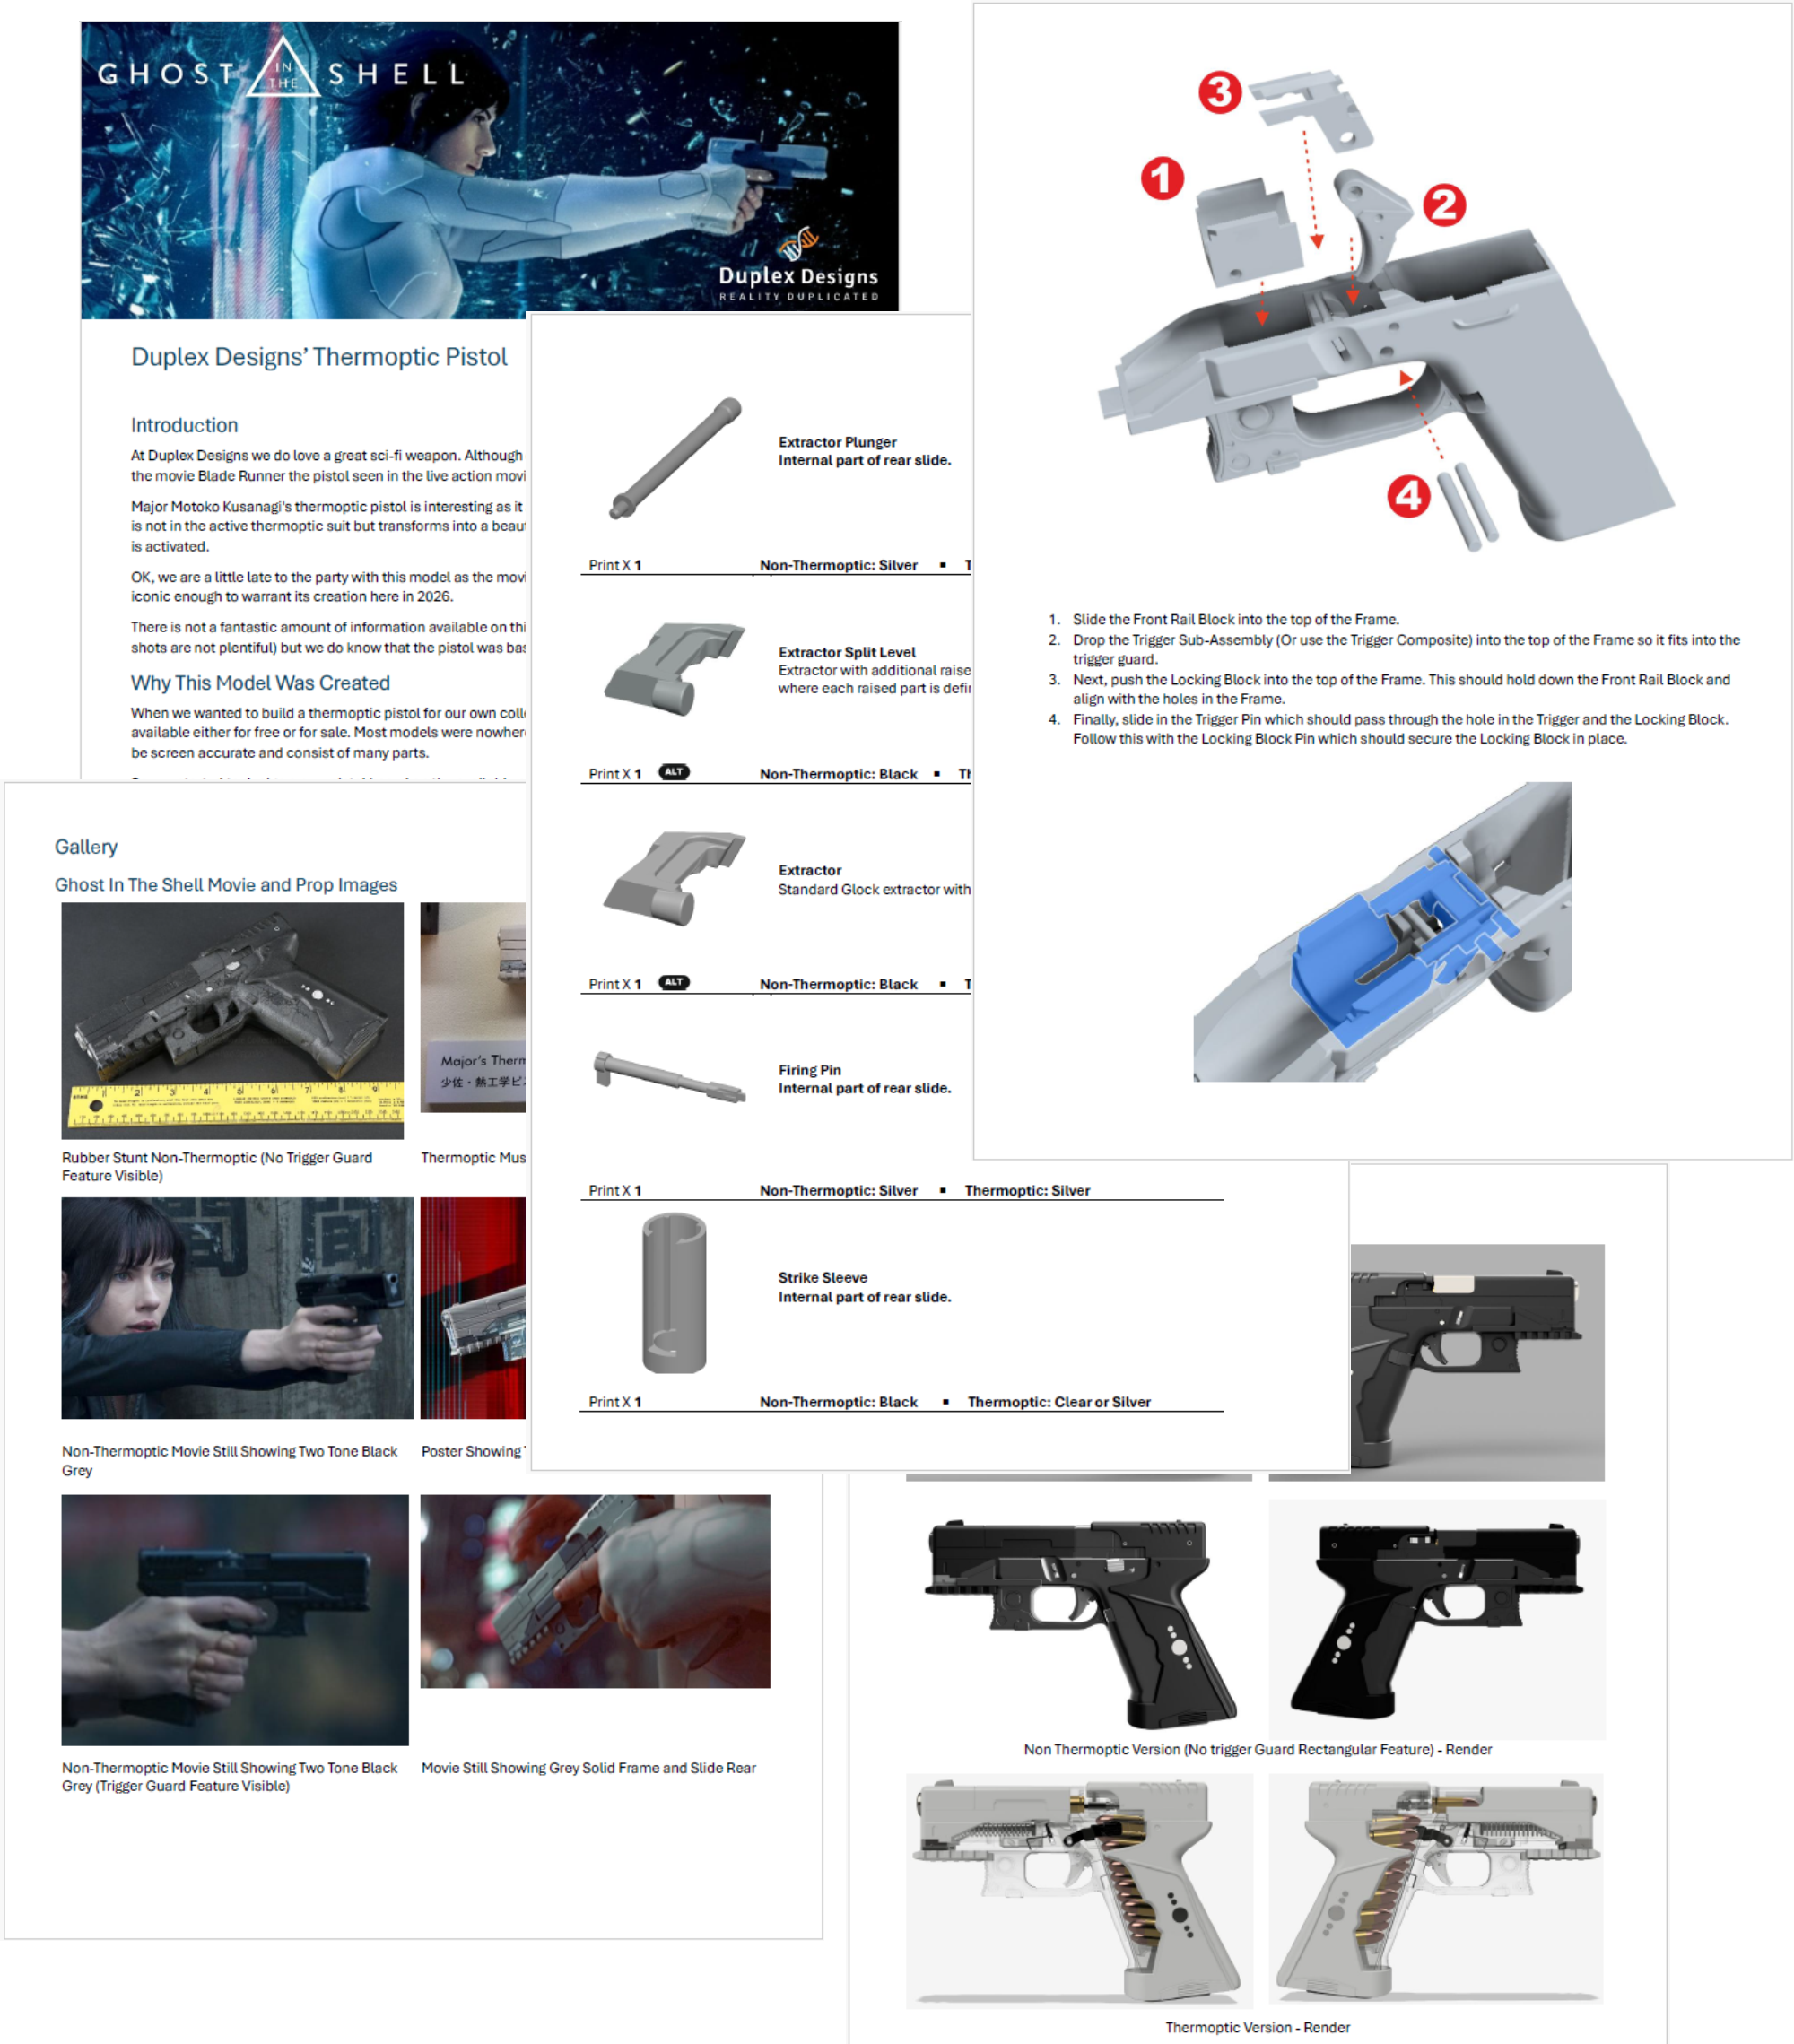
You can use the non thermoptic frame with or without the trigger guard rectangular feature. Or you could use the thermoptic frame if you wanted the extra detail.
The barrel is supplied in a single part or two parts connected by a barrel connection ring. Use the single part barrel for the non-thermoptic version.
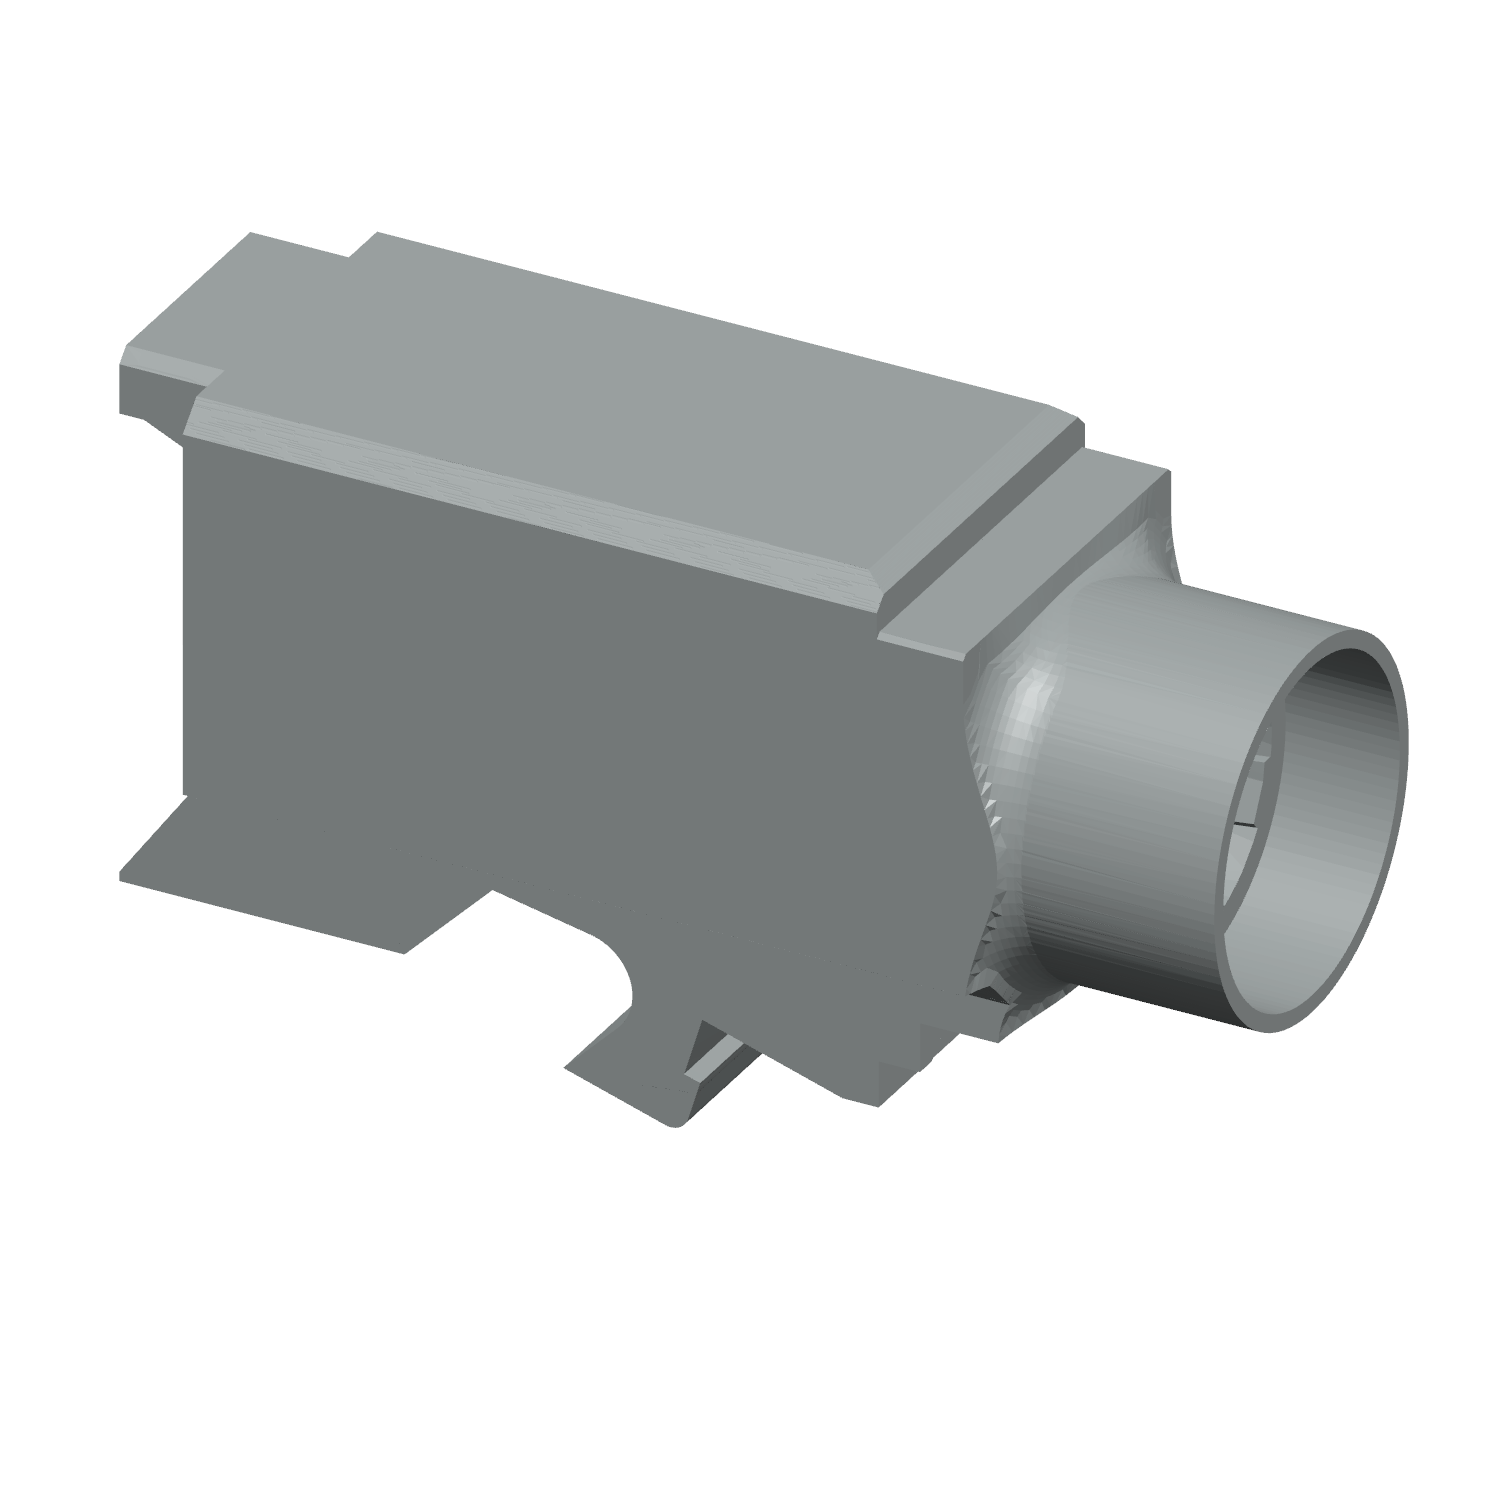
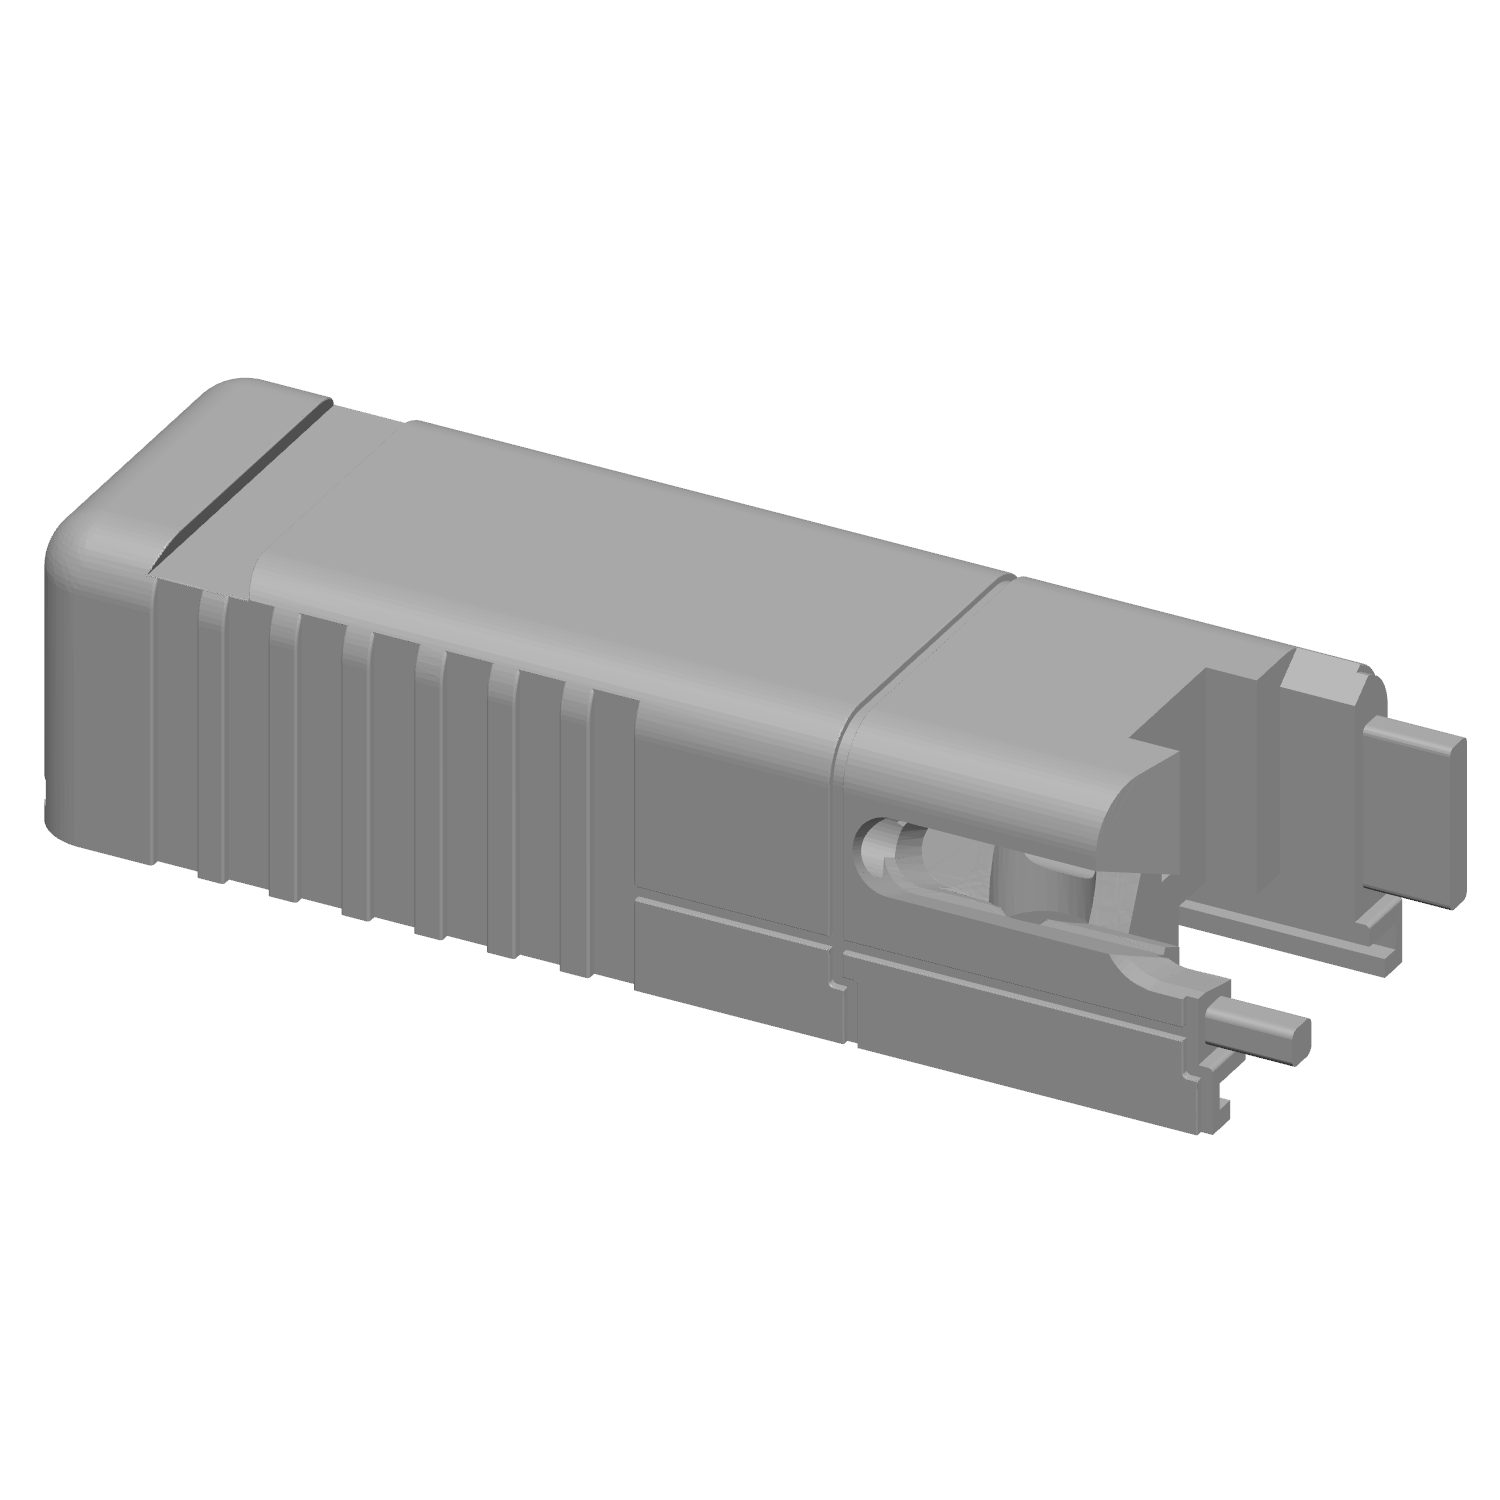
The slide exists as a single part or two-part design. Use the single part slide for this variant.
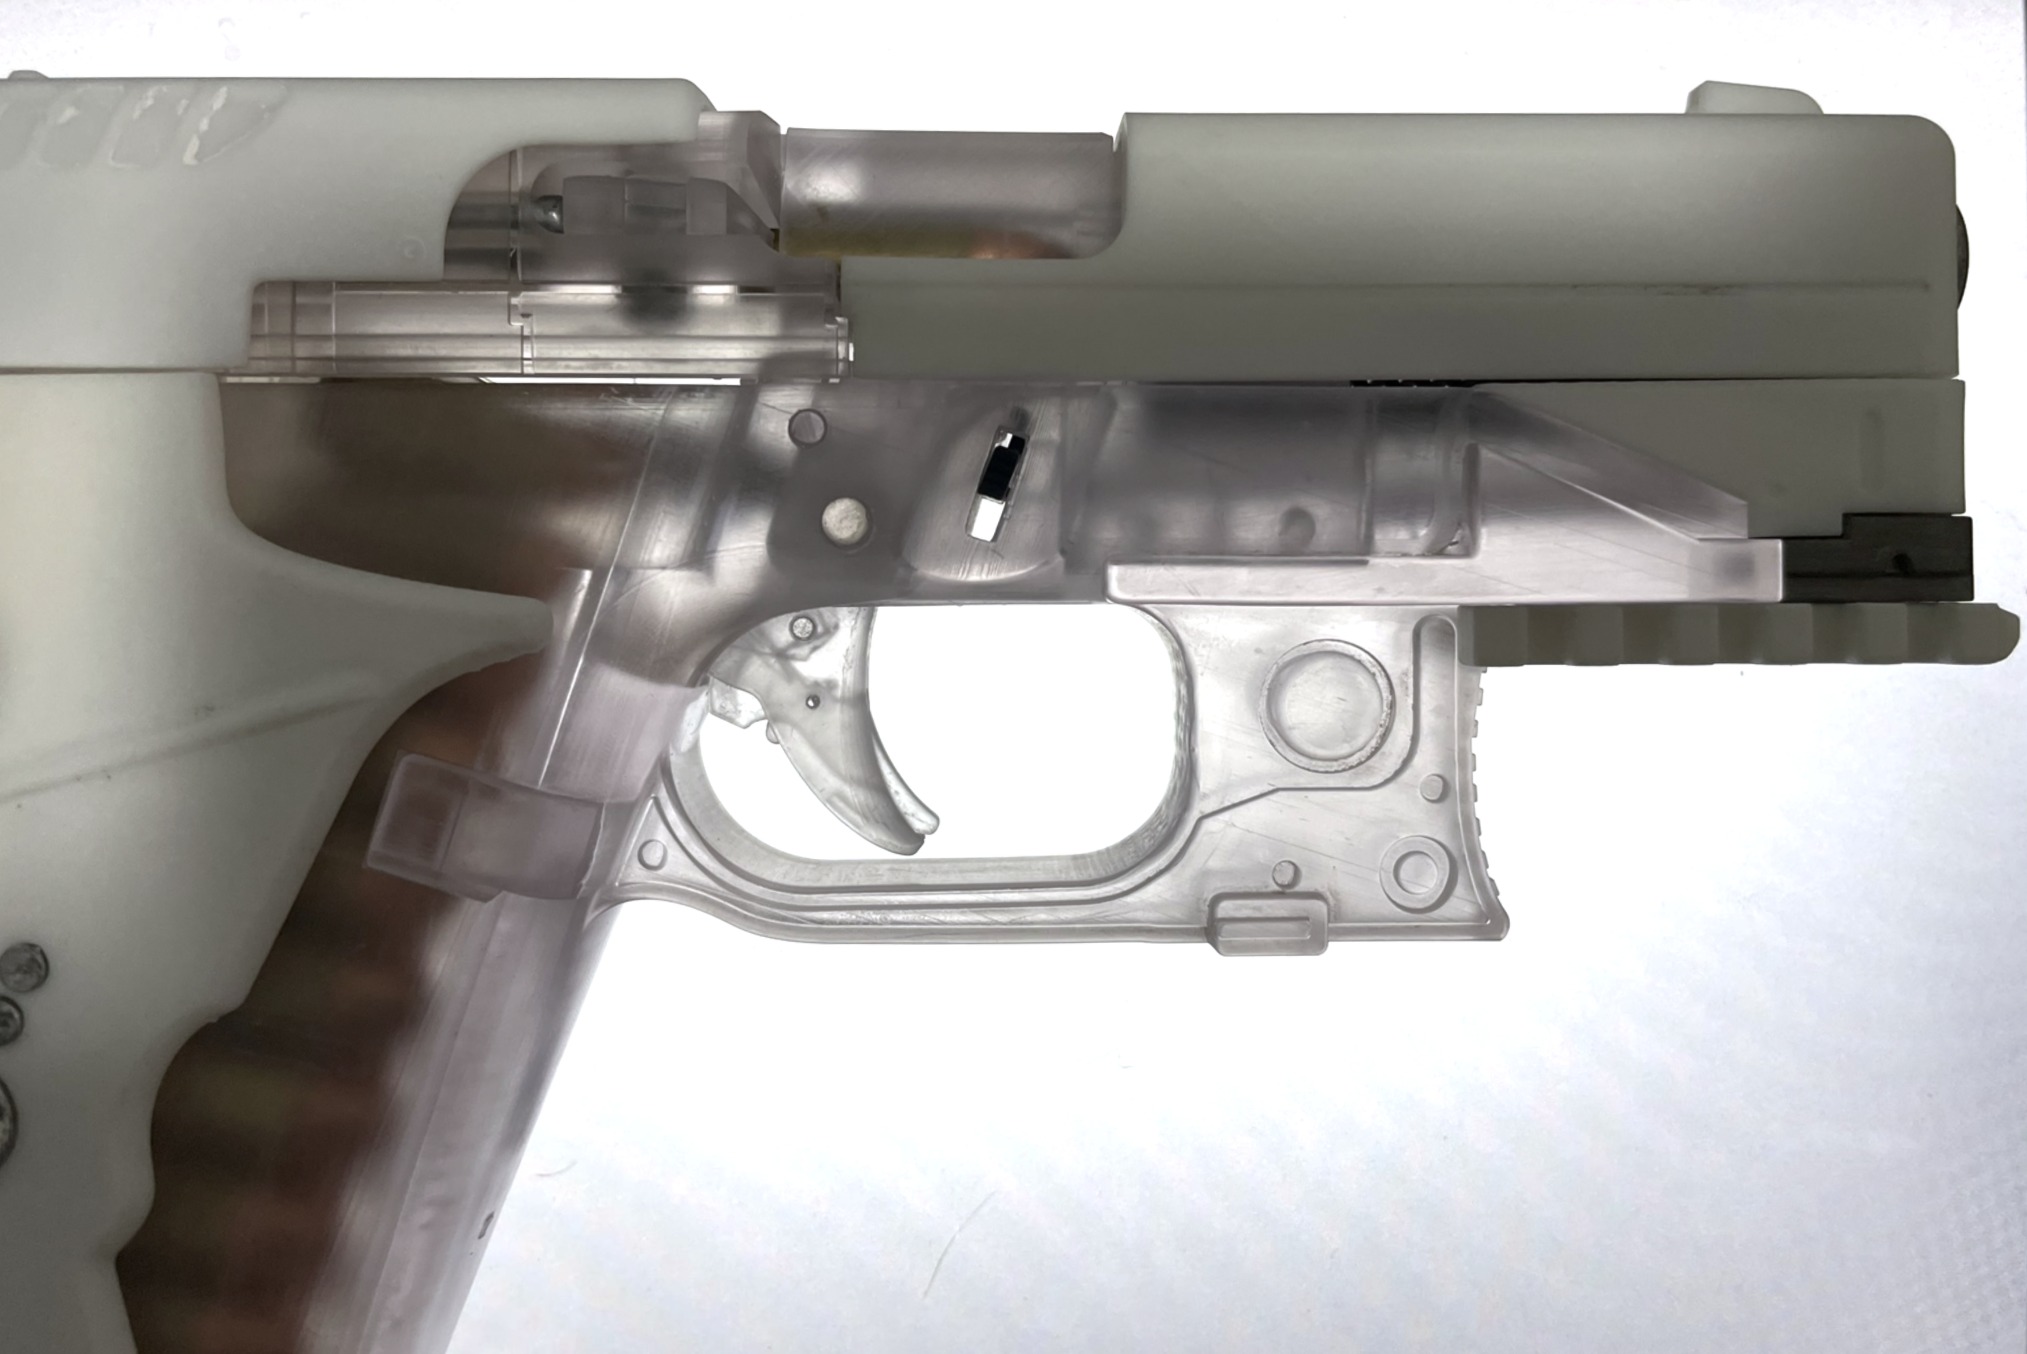
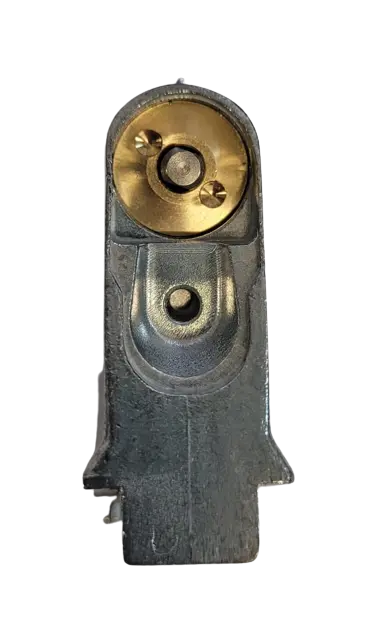
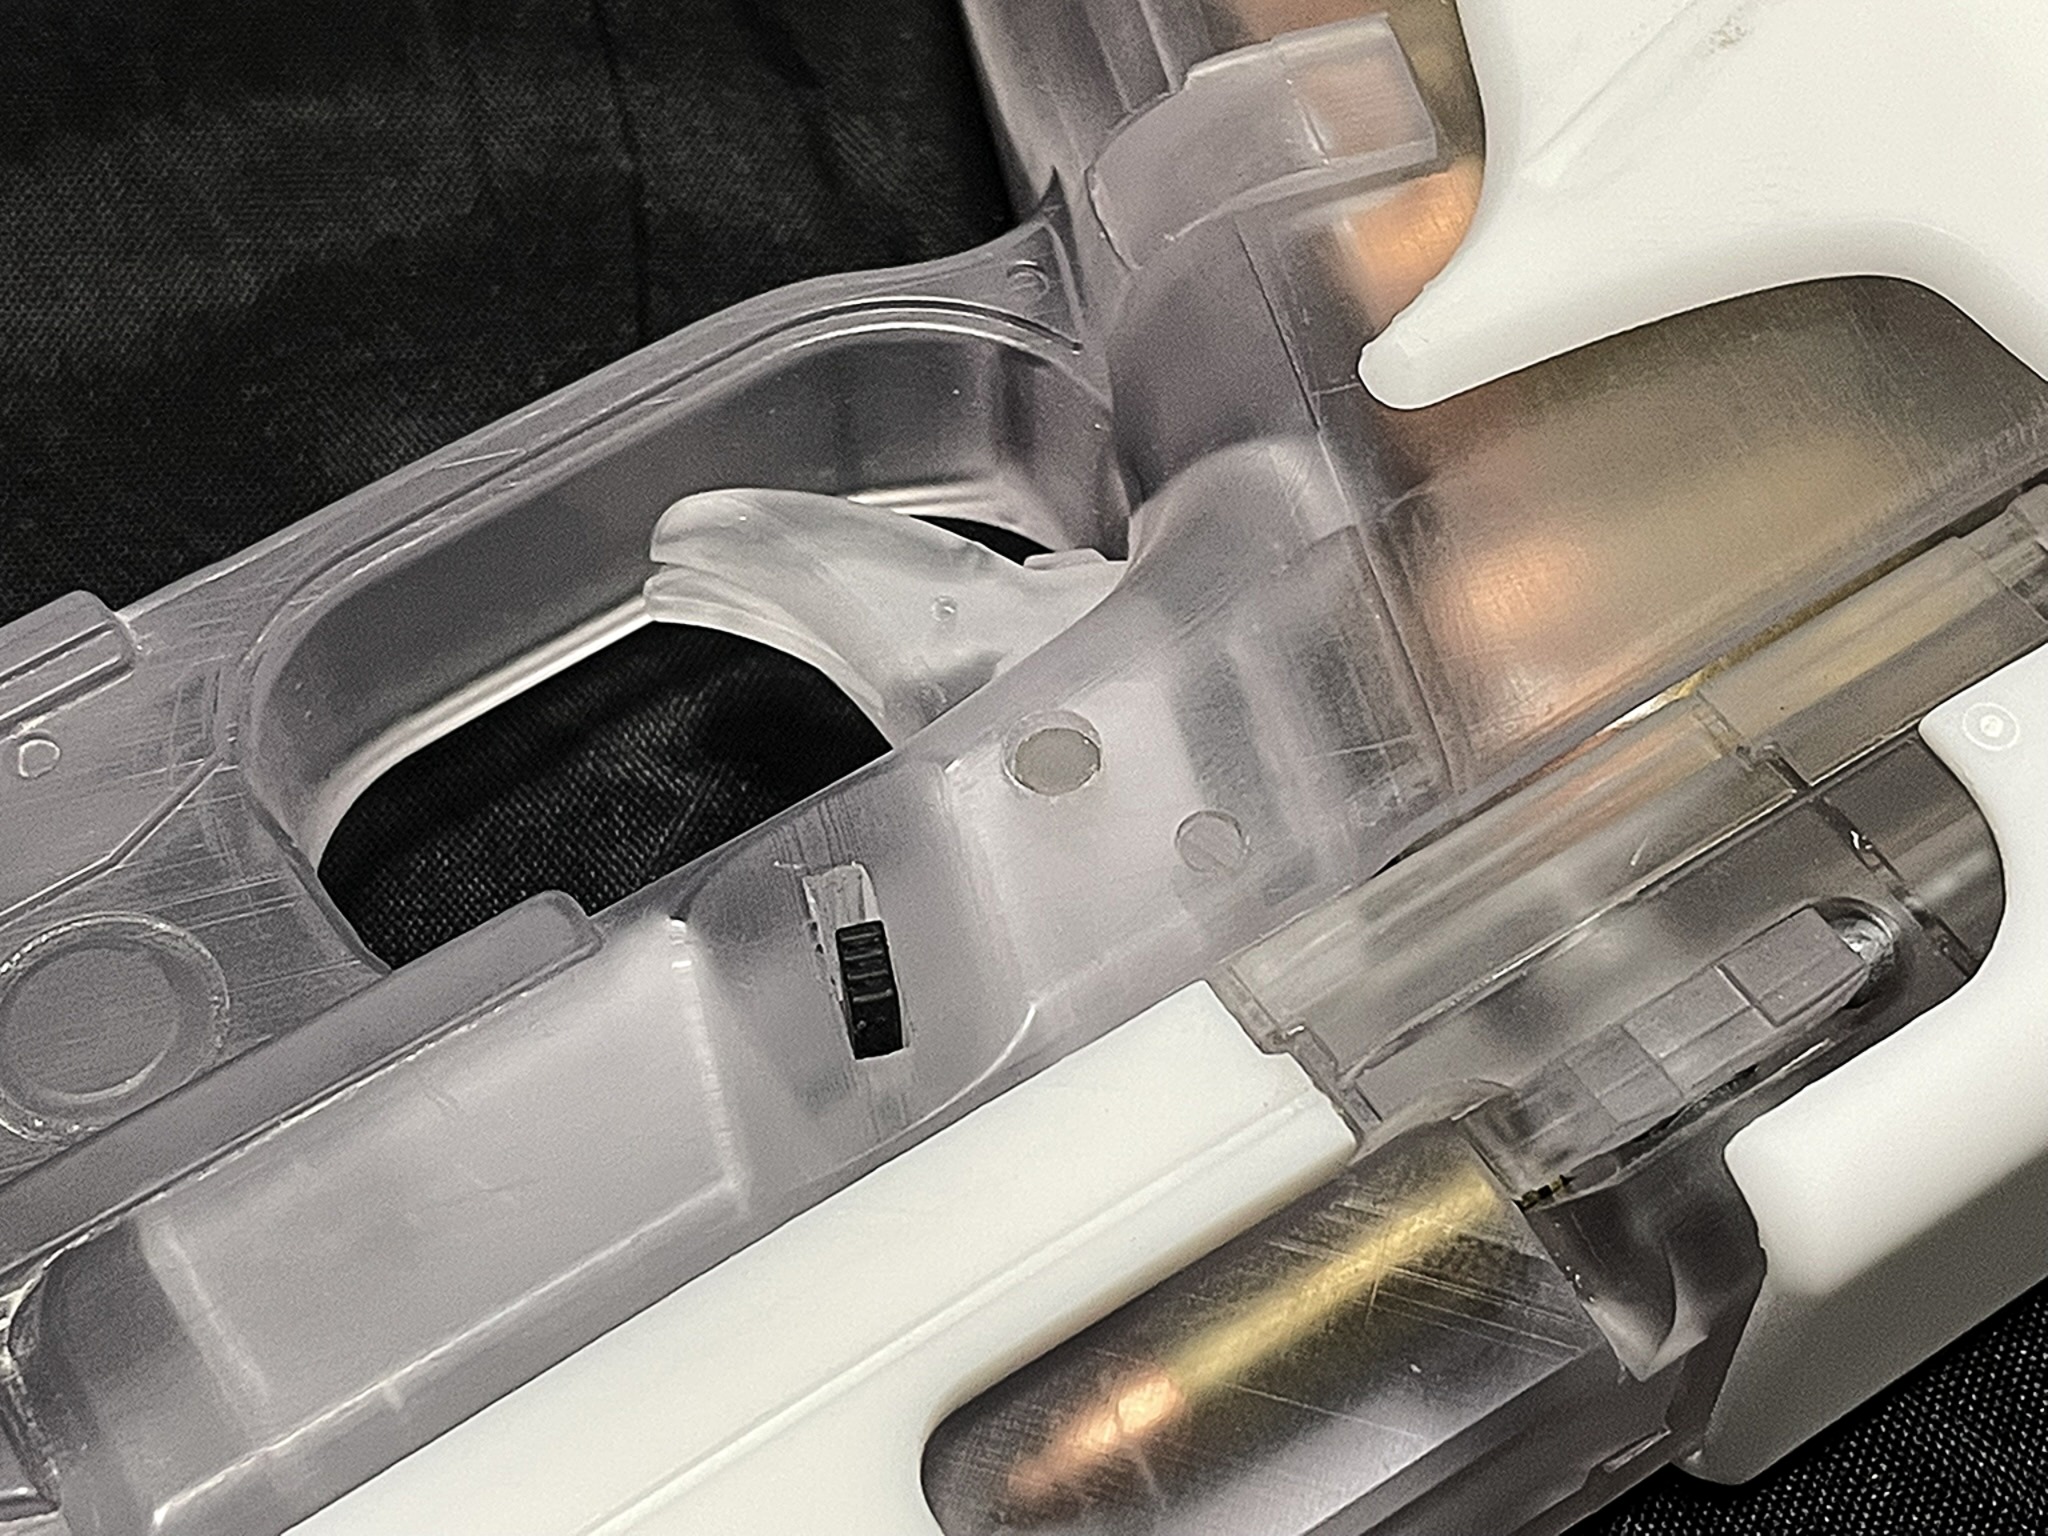
Thermoptic
This is the most challenging build because of the transparent parts. There are not many options to this build, but it is recommended to use non transparent parts for the rear slide internals, so they are more visible. Springs also add great visual detail.
Choices:
The slide release lever could be printed in black, but this does show rather a lot through the transparent frame so a good option here is to print it transparent and just paint the thumb lever (Where it is external to the frame) in black.
The barrel is supplied in a single part or two parts connected by a barrel connection ring. Use the two-part barrel for the thermoptic version if you want the breech end transparent but the barrel end in metallic solid colour. If you print the grey and white thermoptic version you can use the single part barrel if desired.
The slide exists as a single part or two-part design. Use the two-part slide for this variant as the front and rear halves are always dual coloured in thermoptic mode.
Both Variants
The magazine assembly is common to both build types and depending on whether you want to add rounds to it this determines the magazine spring to use.
It is recommended to use FDM printing for the magazine spring. Use the long one if the magazine is to be empty or only contain a few rounds (Real or 3D printed).
There is a limit to how much the plastic spring will compress, so as the number of rounds increases you may want to cut the length of the spring to suit.
If the magazine is close to being full of rounds, then there is a compressed magazine spring available to print.
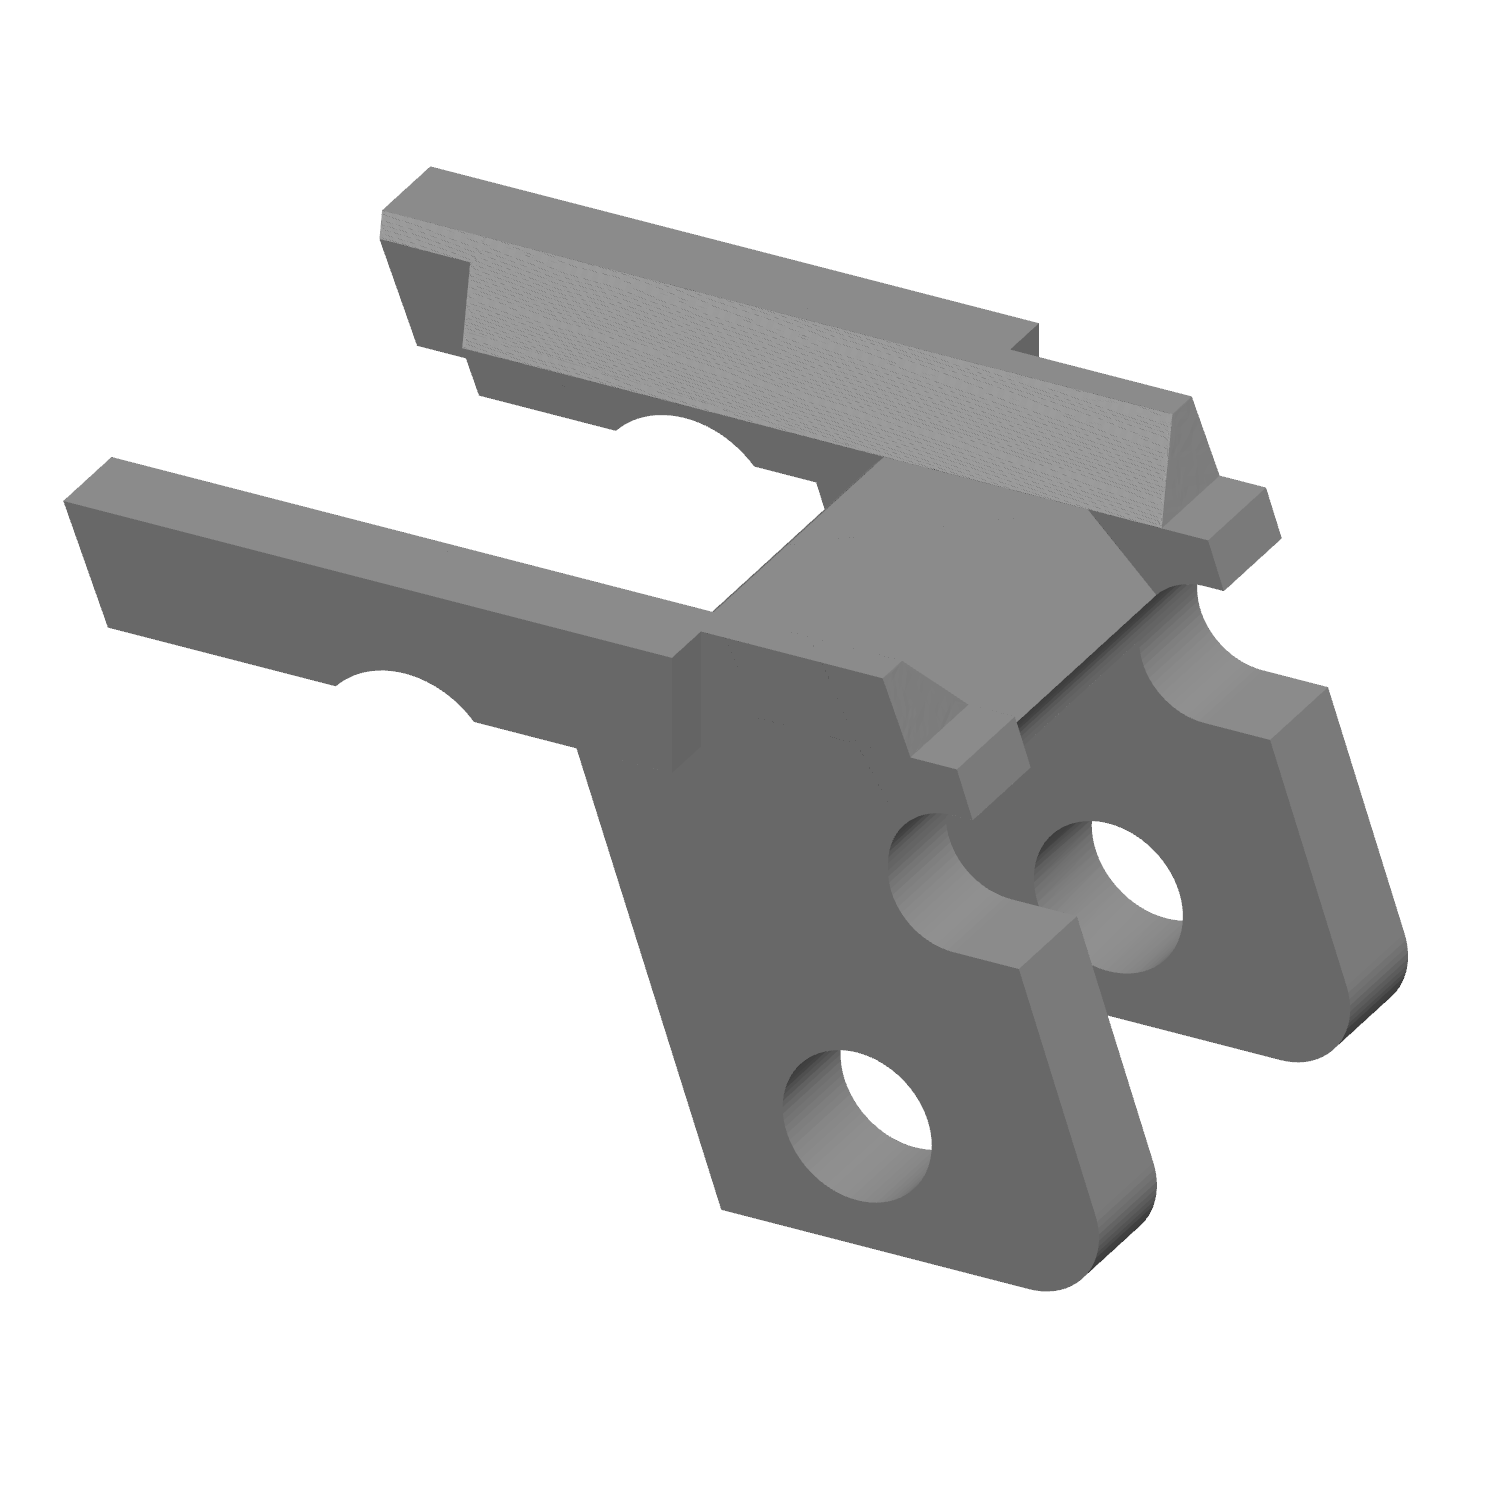
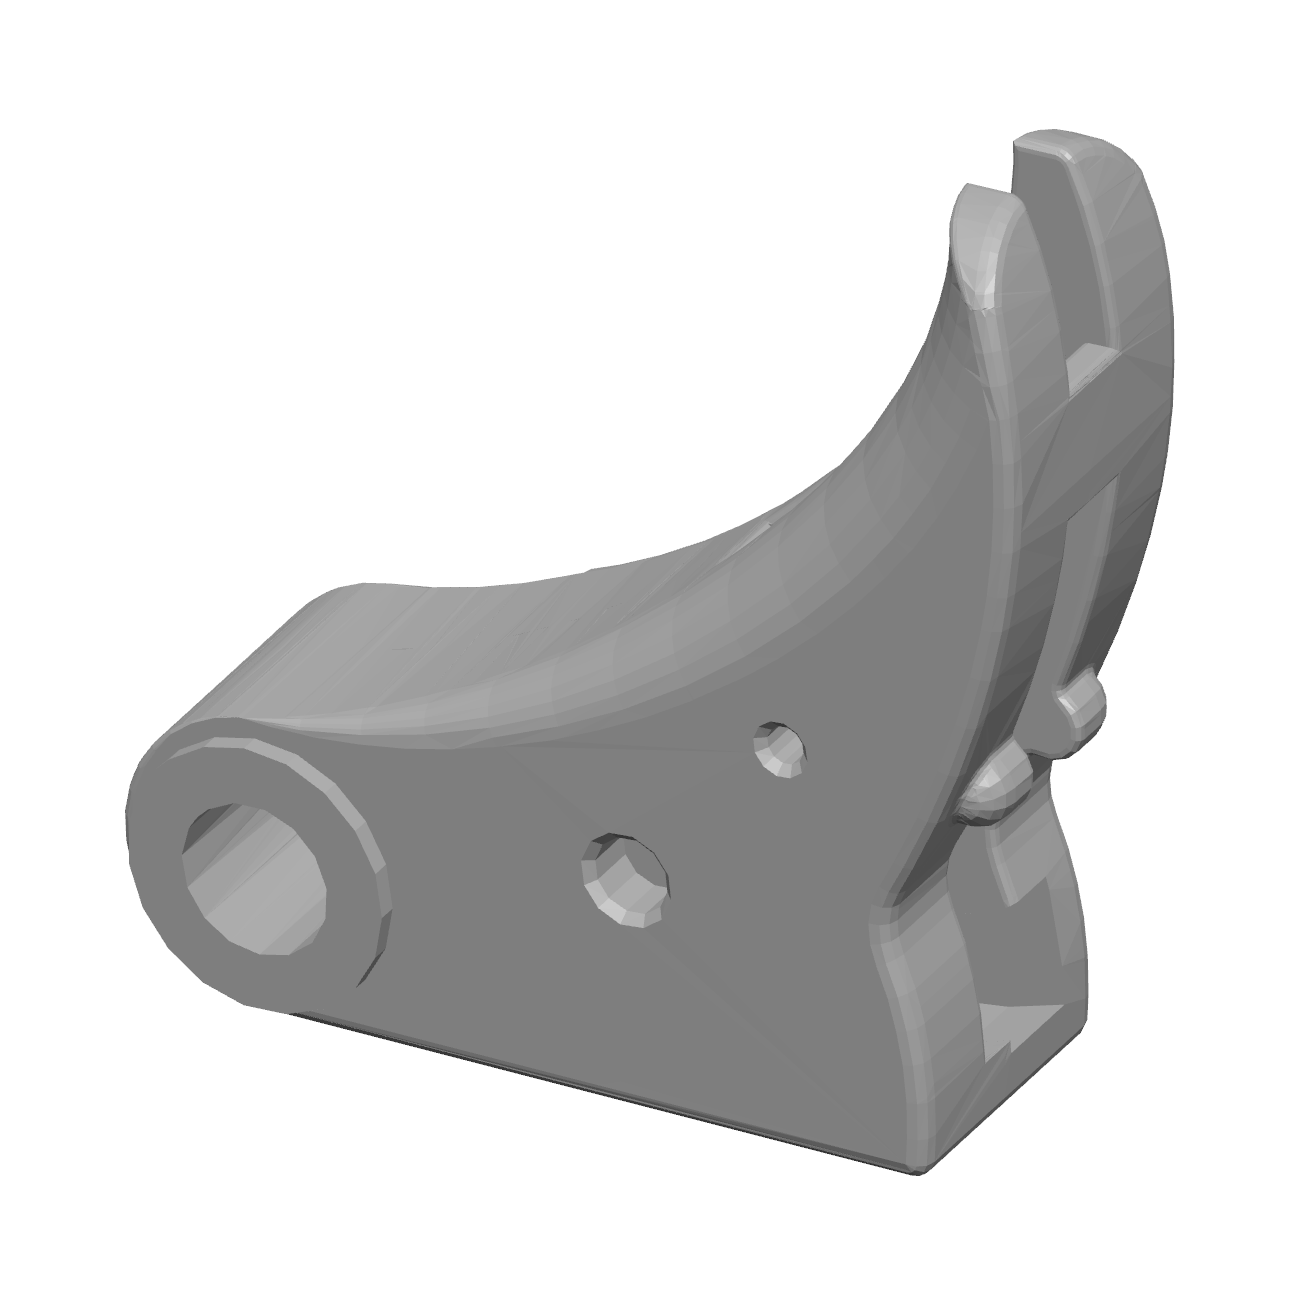
The trigger is supplied in a single composite form to simplify printing and assembly, or you can opt for the multi part trigger with separate safety and pins.
FDM: Good for non-transparent parts; uses PLA; may show ghosting; suitable for internal parts.
Resin: Necessary for transparent parts and small components; requires careful handling due to shrinkage and other distortions.
Hybrid: Combines resin for transparent parts and FDM for larger or accurately fitting parts; results in high-quality display models.
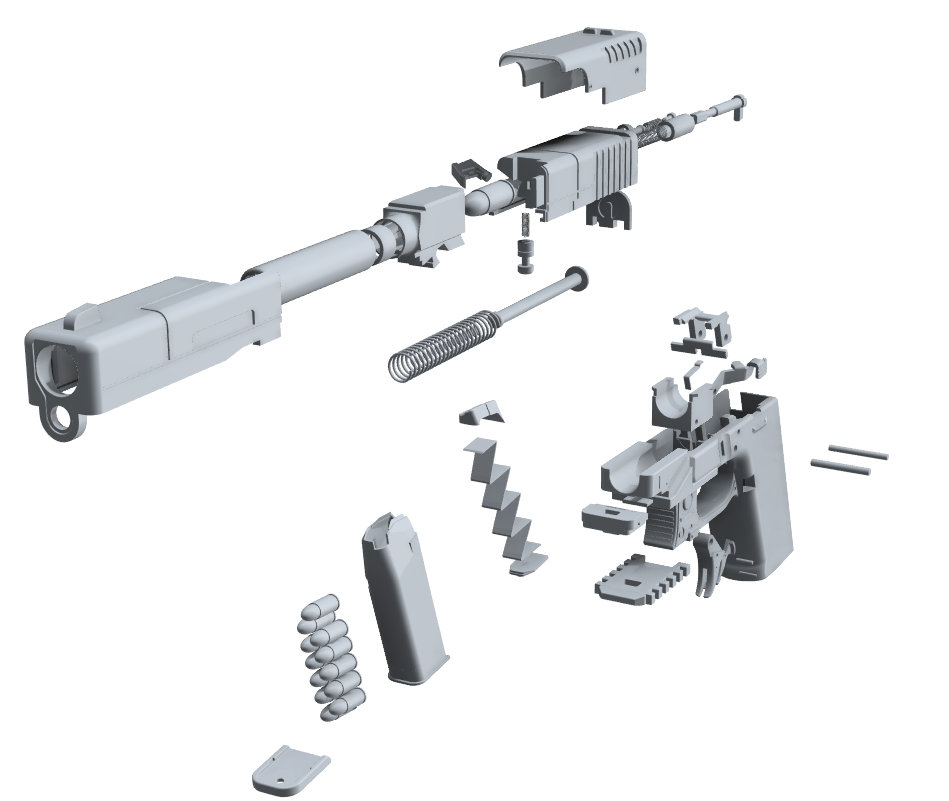
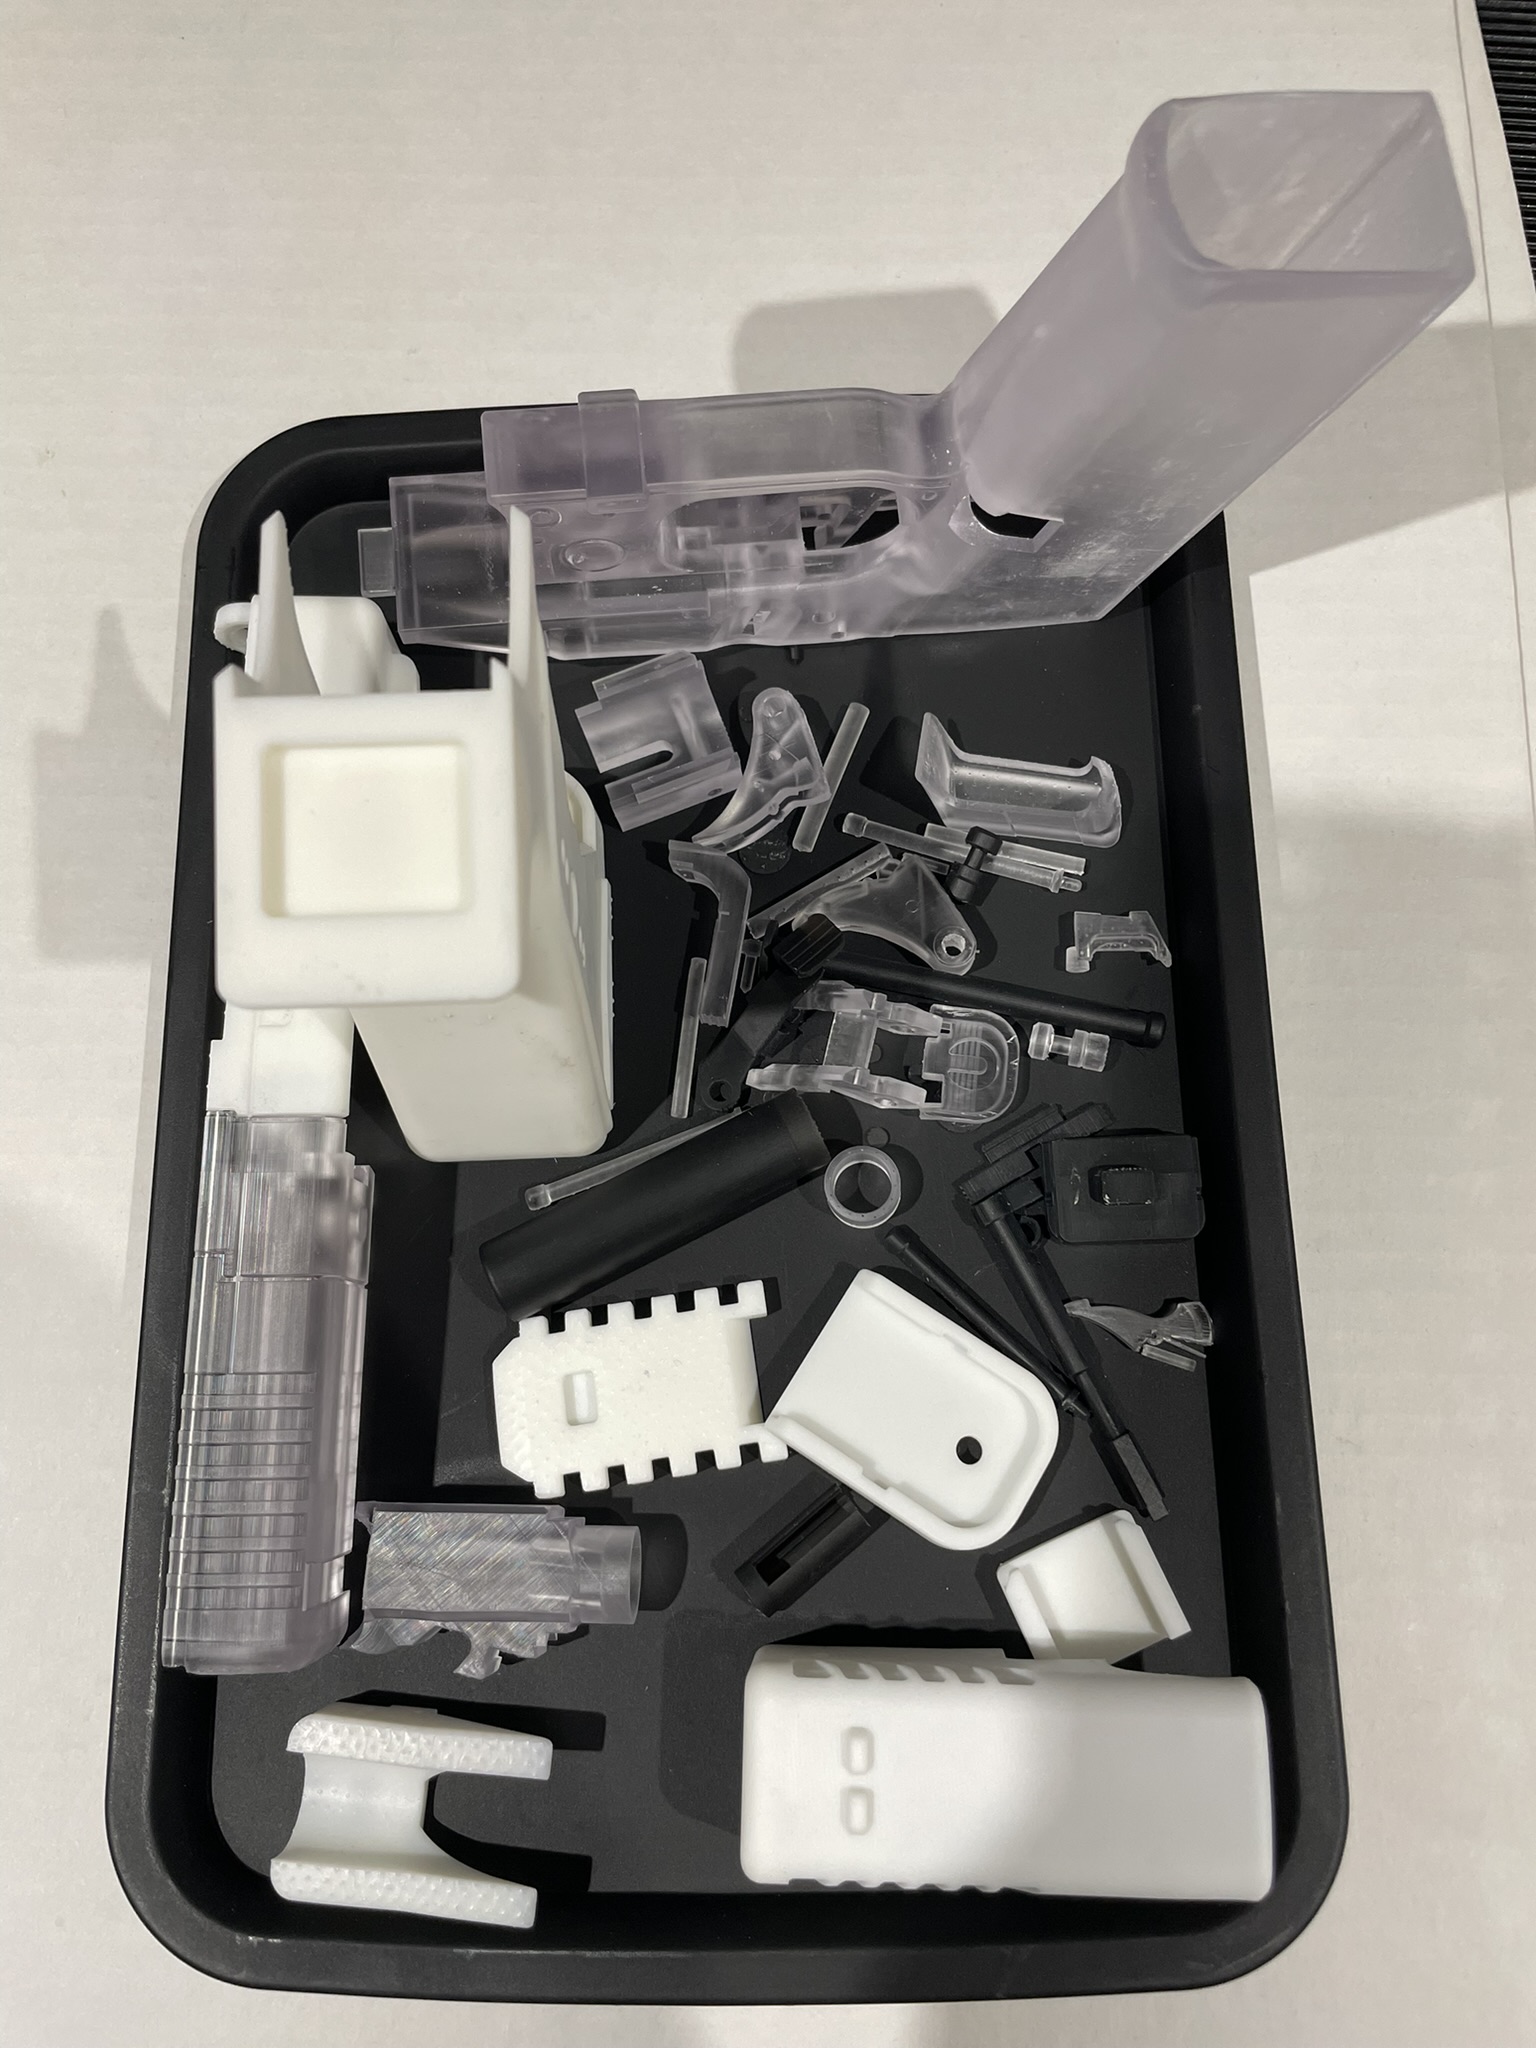
Comprehensive list of STL parts and step-by-step assembly guidance.
Includes frames, slides, barrels, internal components, magazine parts, and detailed small parts.
Assembly involves sub-assemblies: magazine, barrel, slide, trigger, frame.
Detailed instructions for each sub-assembly and final assembly process.
Emphasizes careful fitting, optional internal detail omission, and finishing for best results.