Dark Blued Effect For Model Guns Tutorial

This tutorial shows how you can create a very realistic dark blued effect to your model firearms. This is designed to work with black 3D printed resin but may be applied to other surfaces.

The Solution a For Dark Blued Effect Finish on Your 3D Printed Pistols and Firearms

In this article we will be looking at the Modeller's Dark Blued Effect Finishing Kit available from Duplex Designs. The kit was primarily designed to be applied directly to 3D printed black resin parts and only requires a final clear-coat to seal. One advantage of this kit is that the final finish is very thin as it removes the need for the primer, undercoat and main paint layers when using traditional painting techniques.

Prepared black resin prior to applying deep blued effect

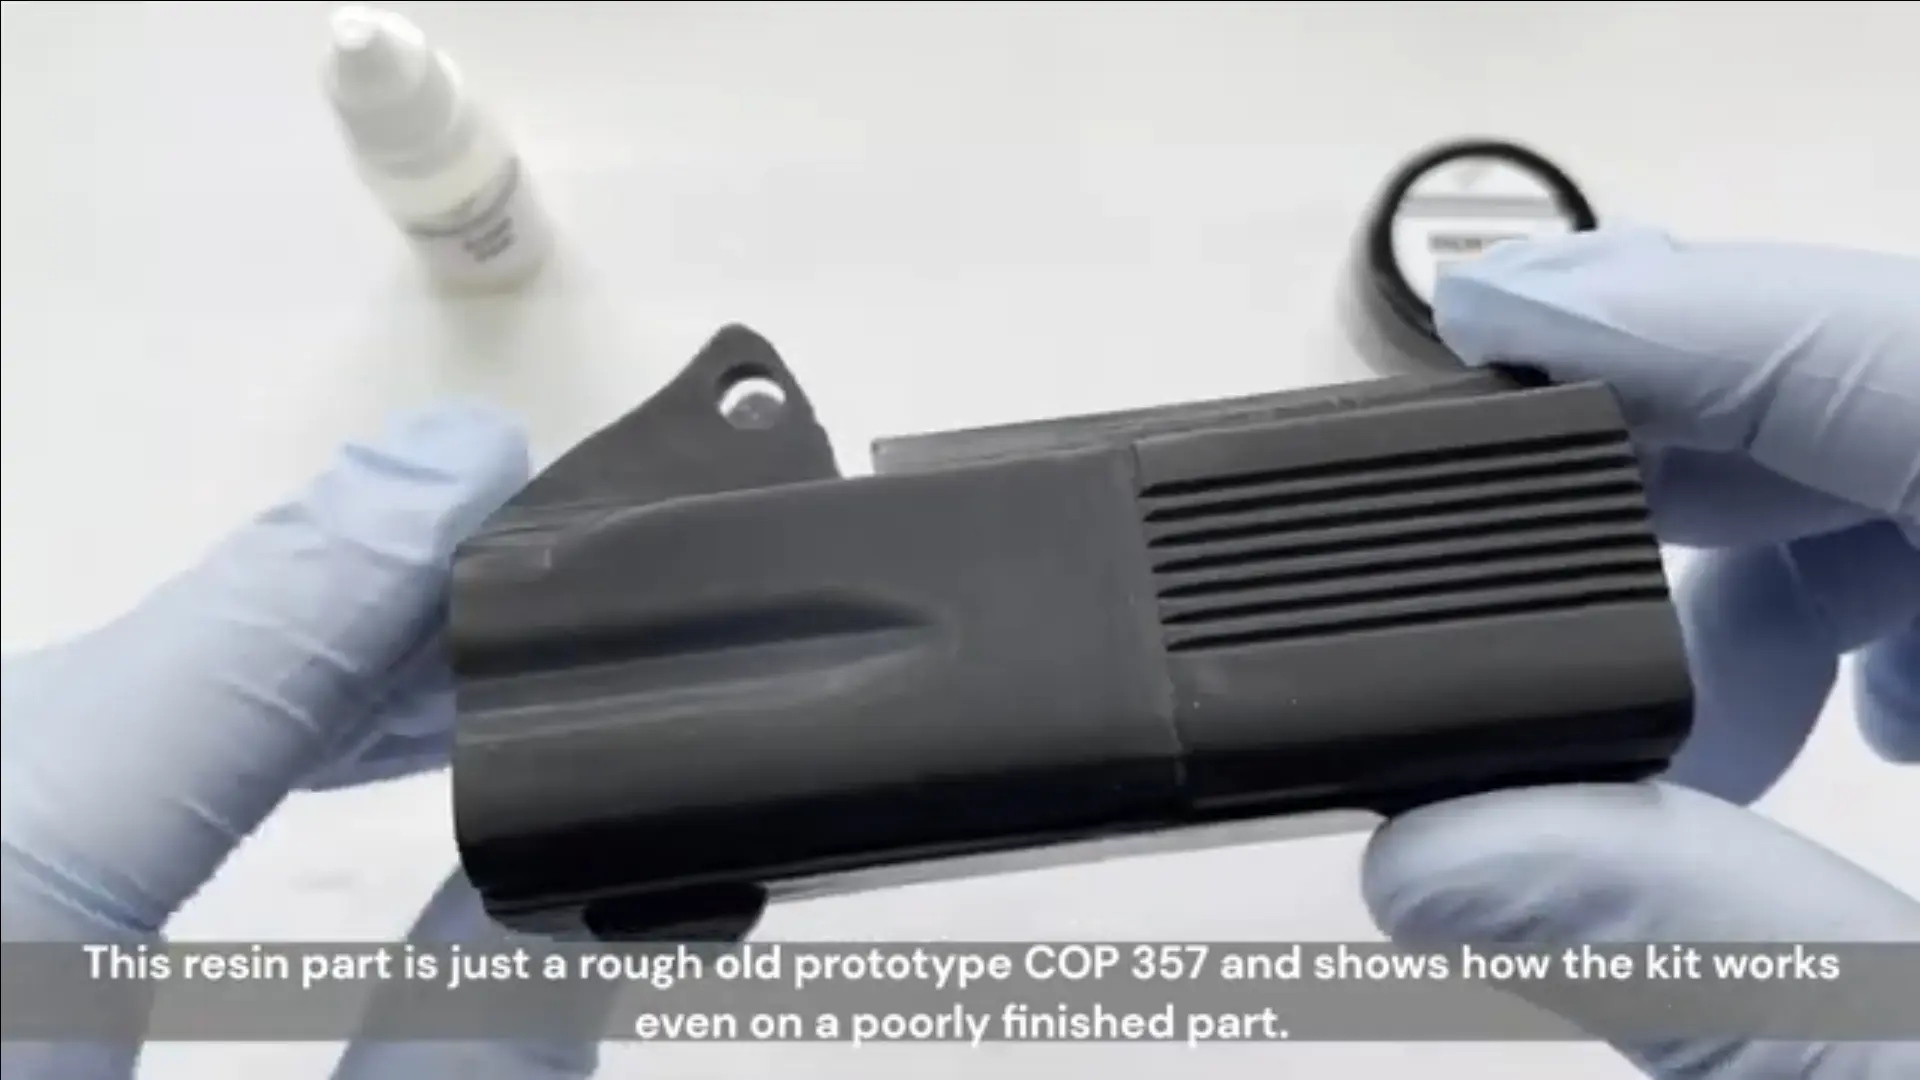
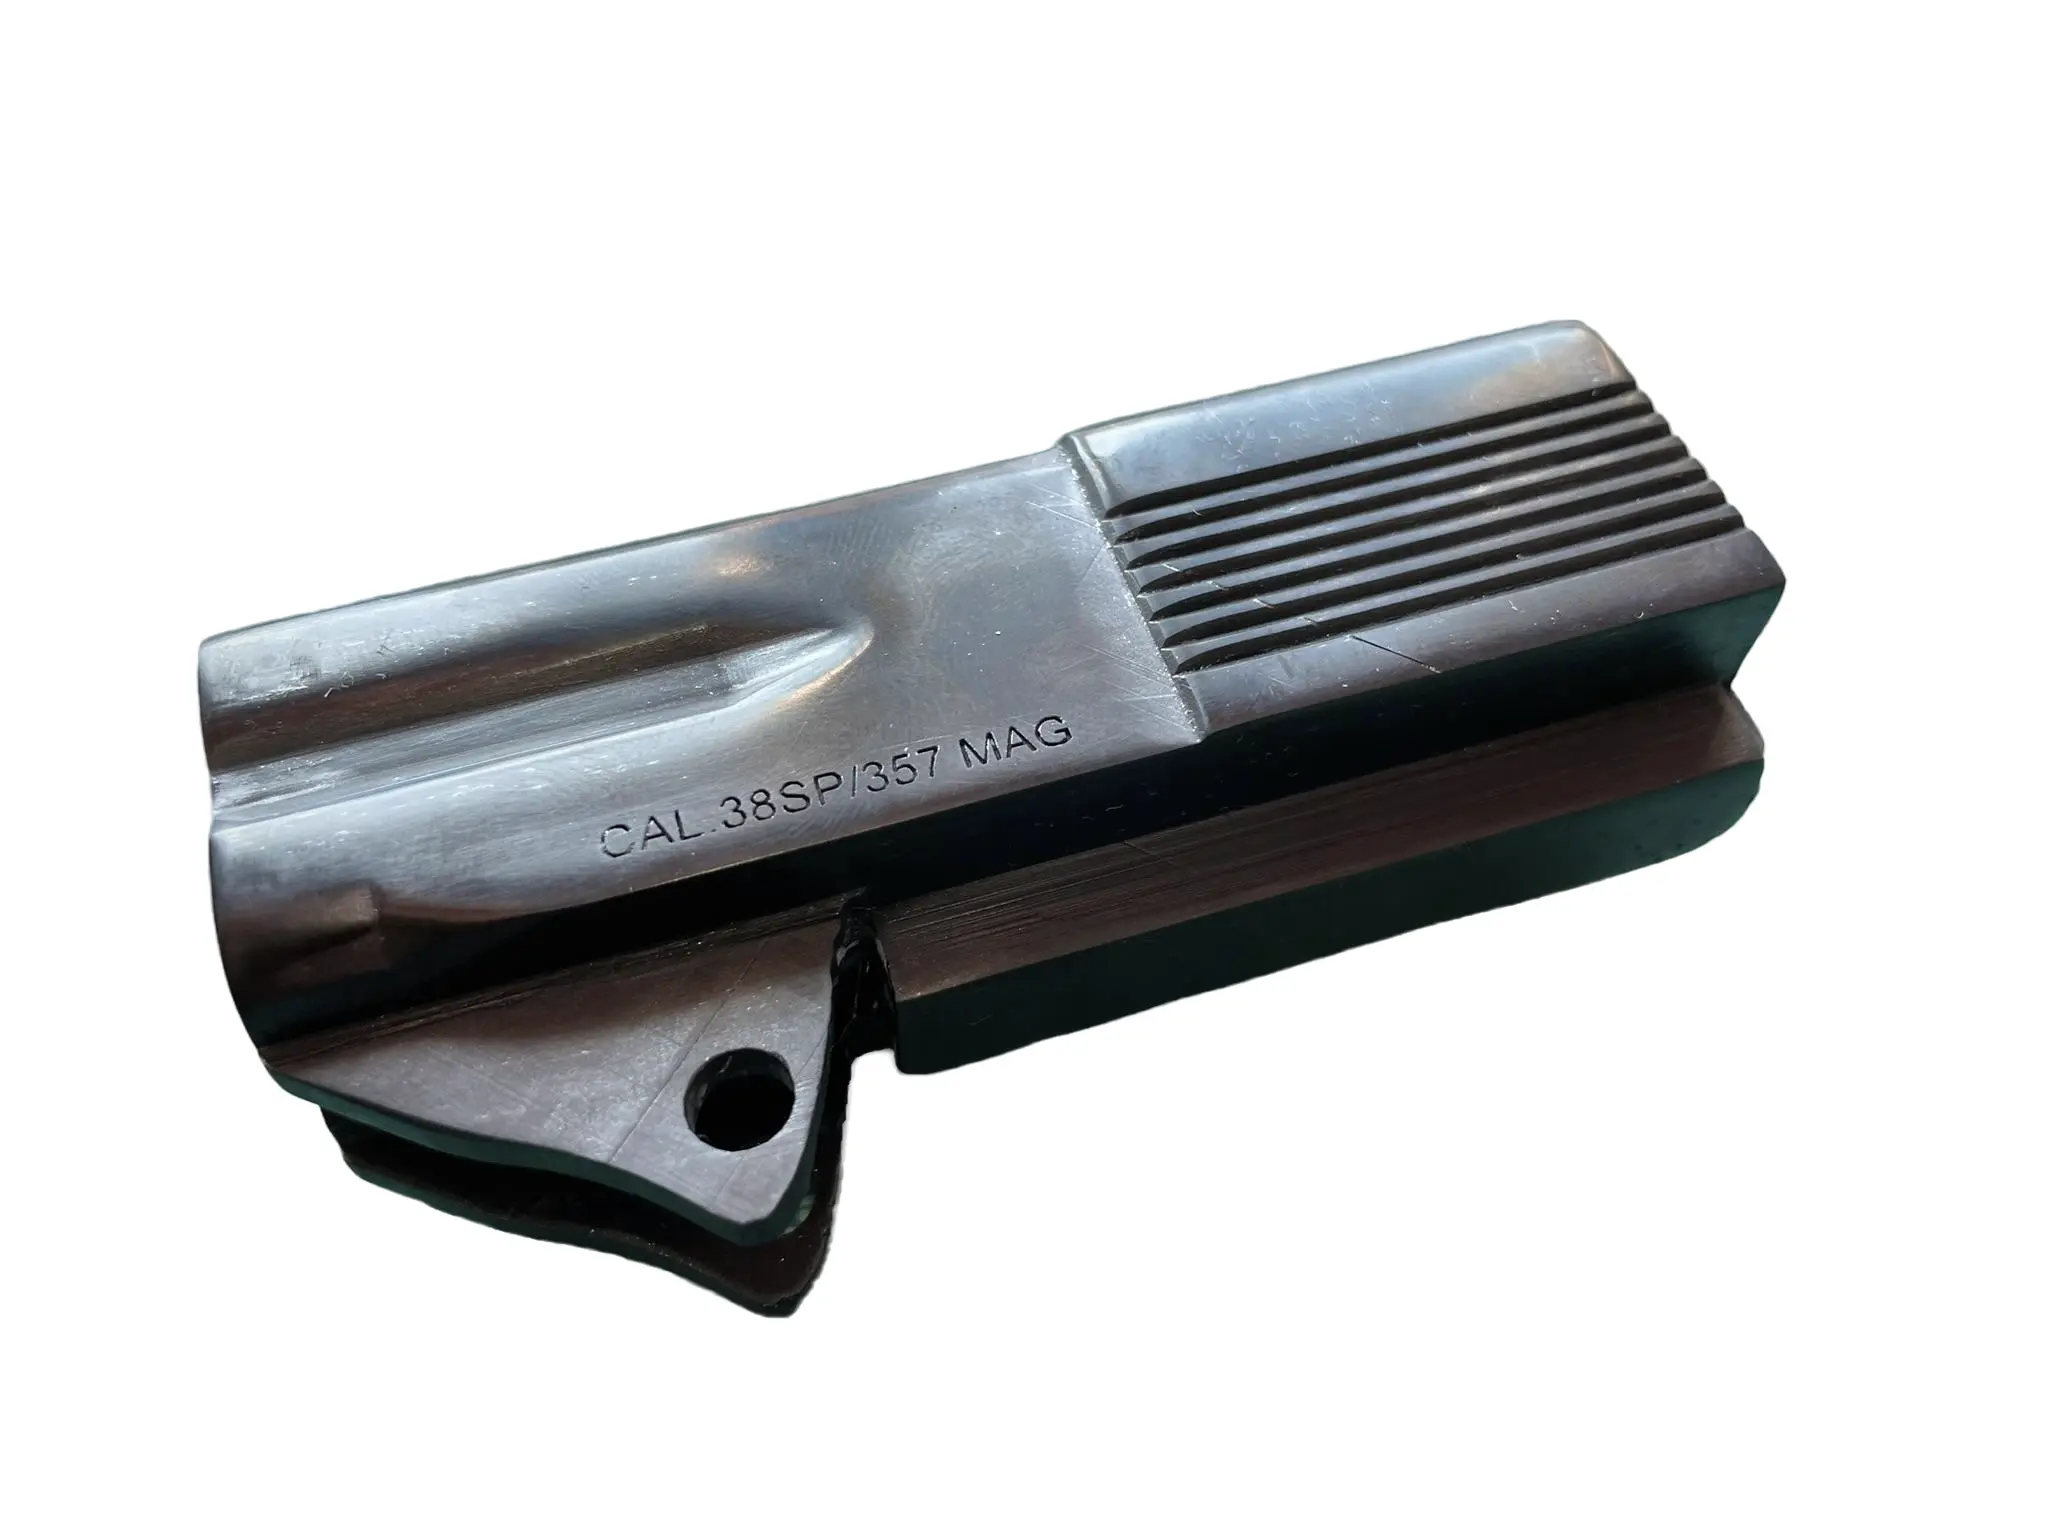
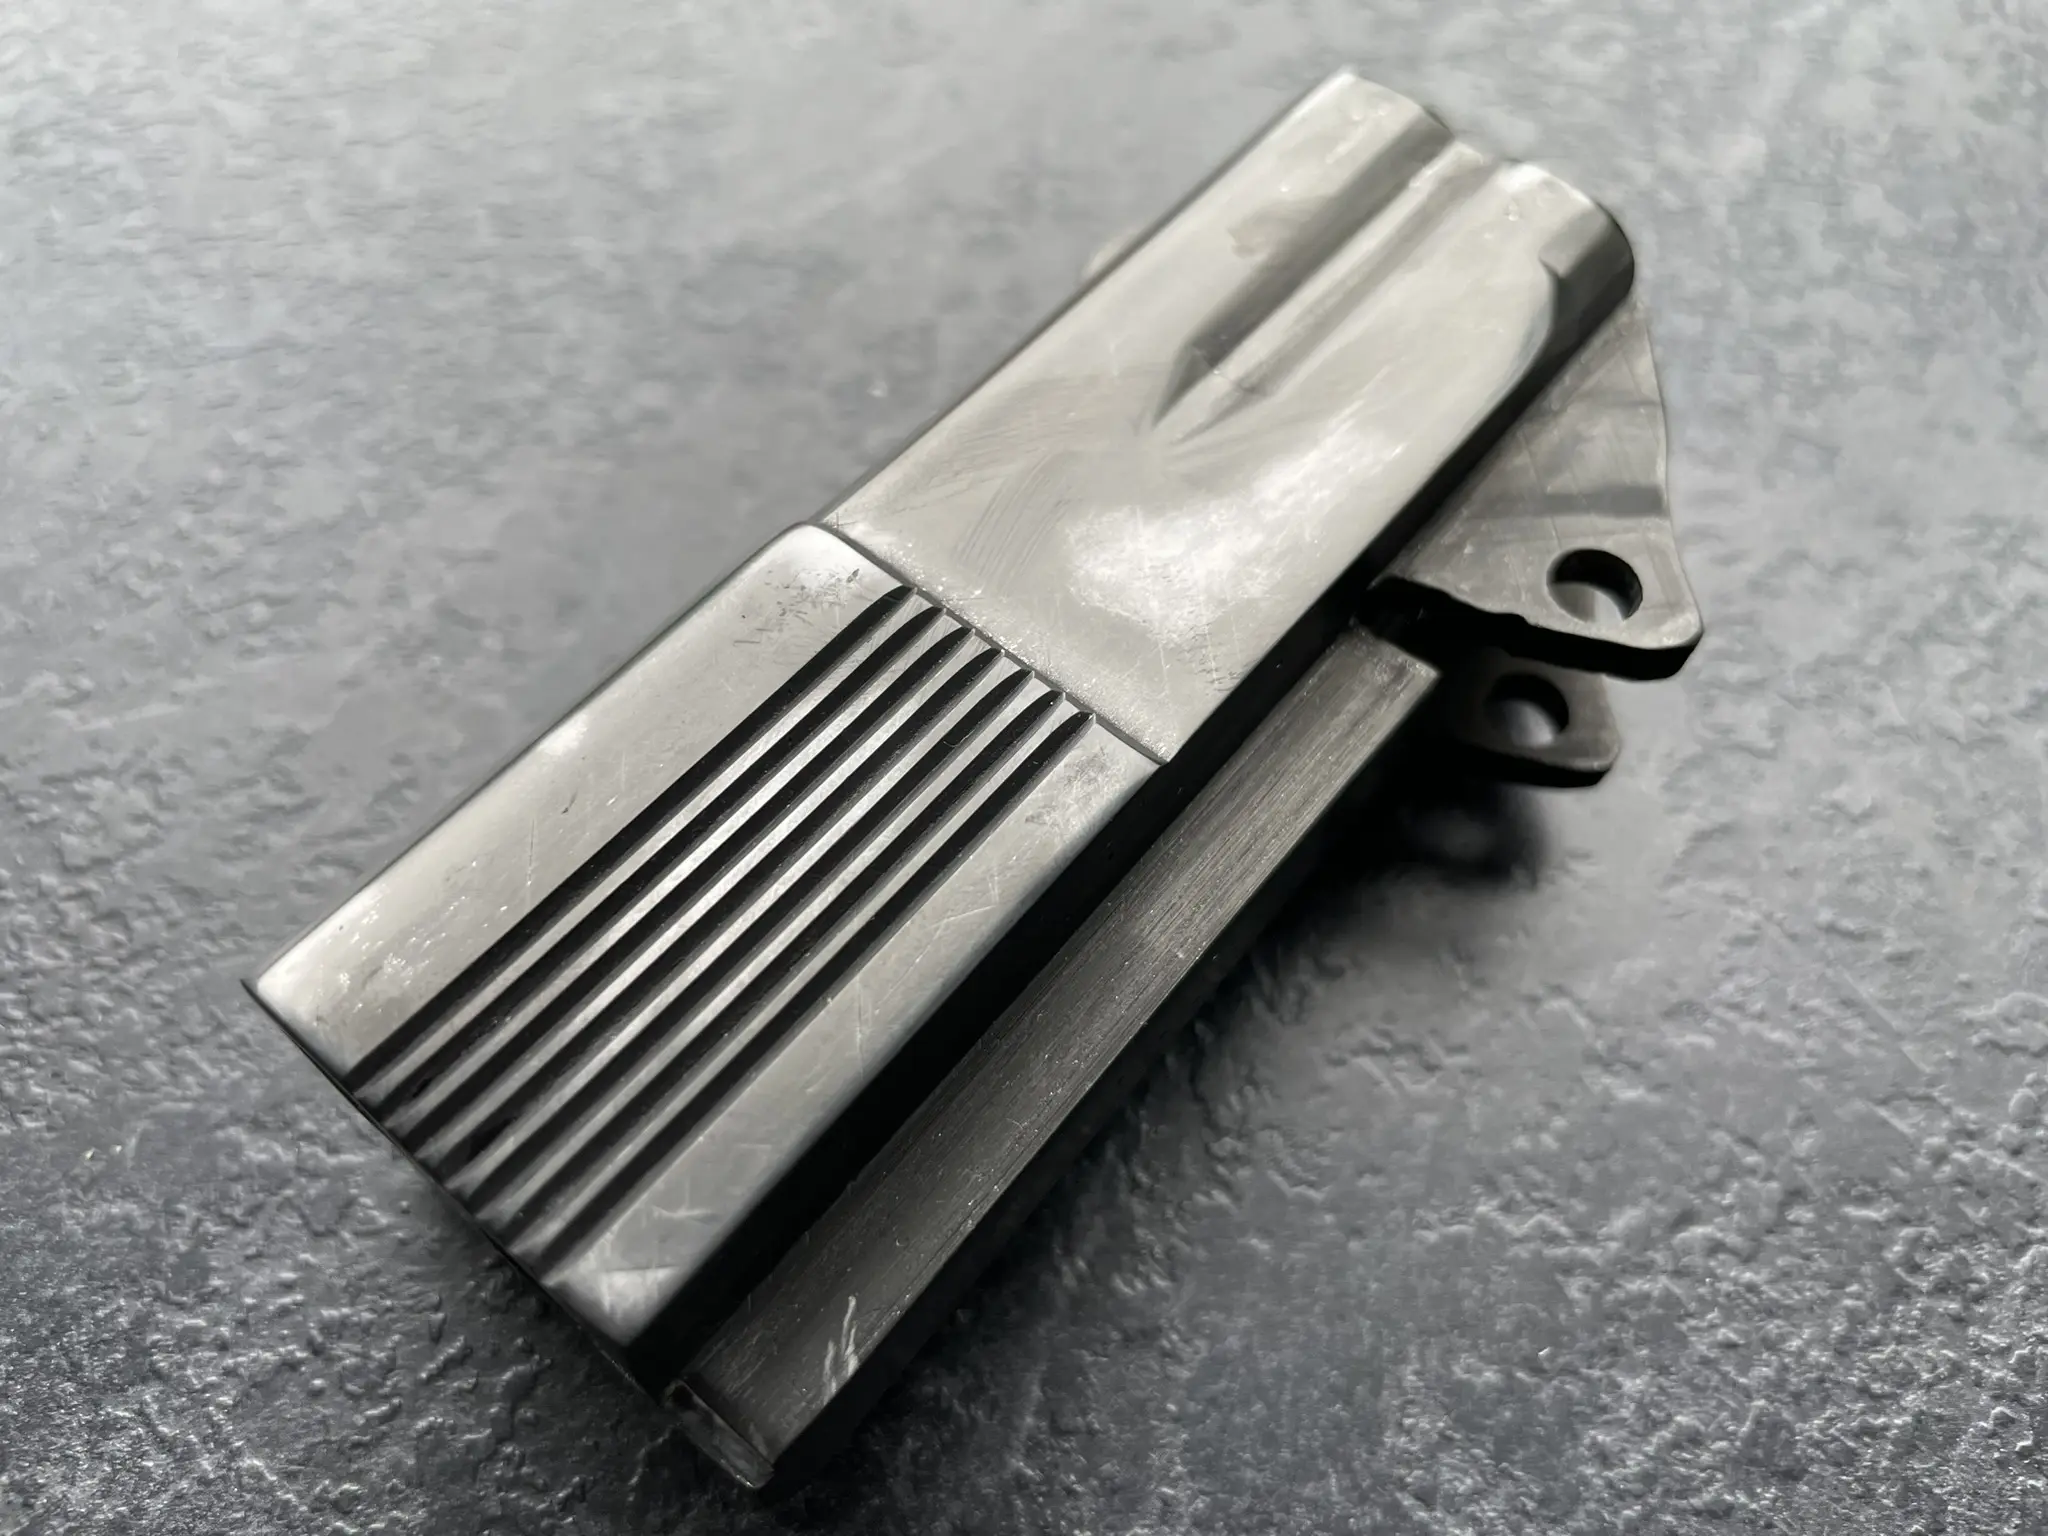
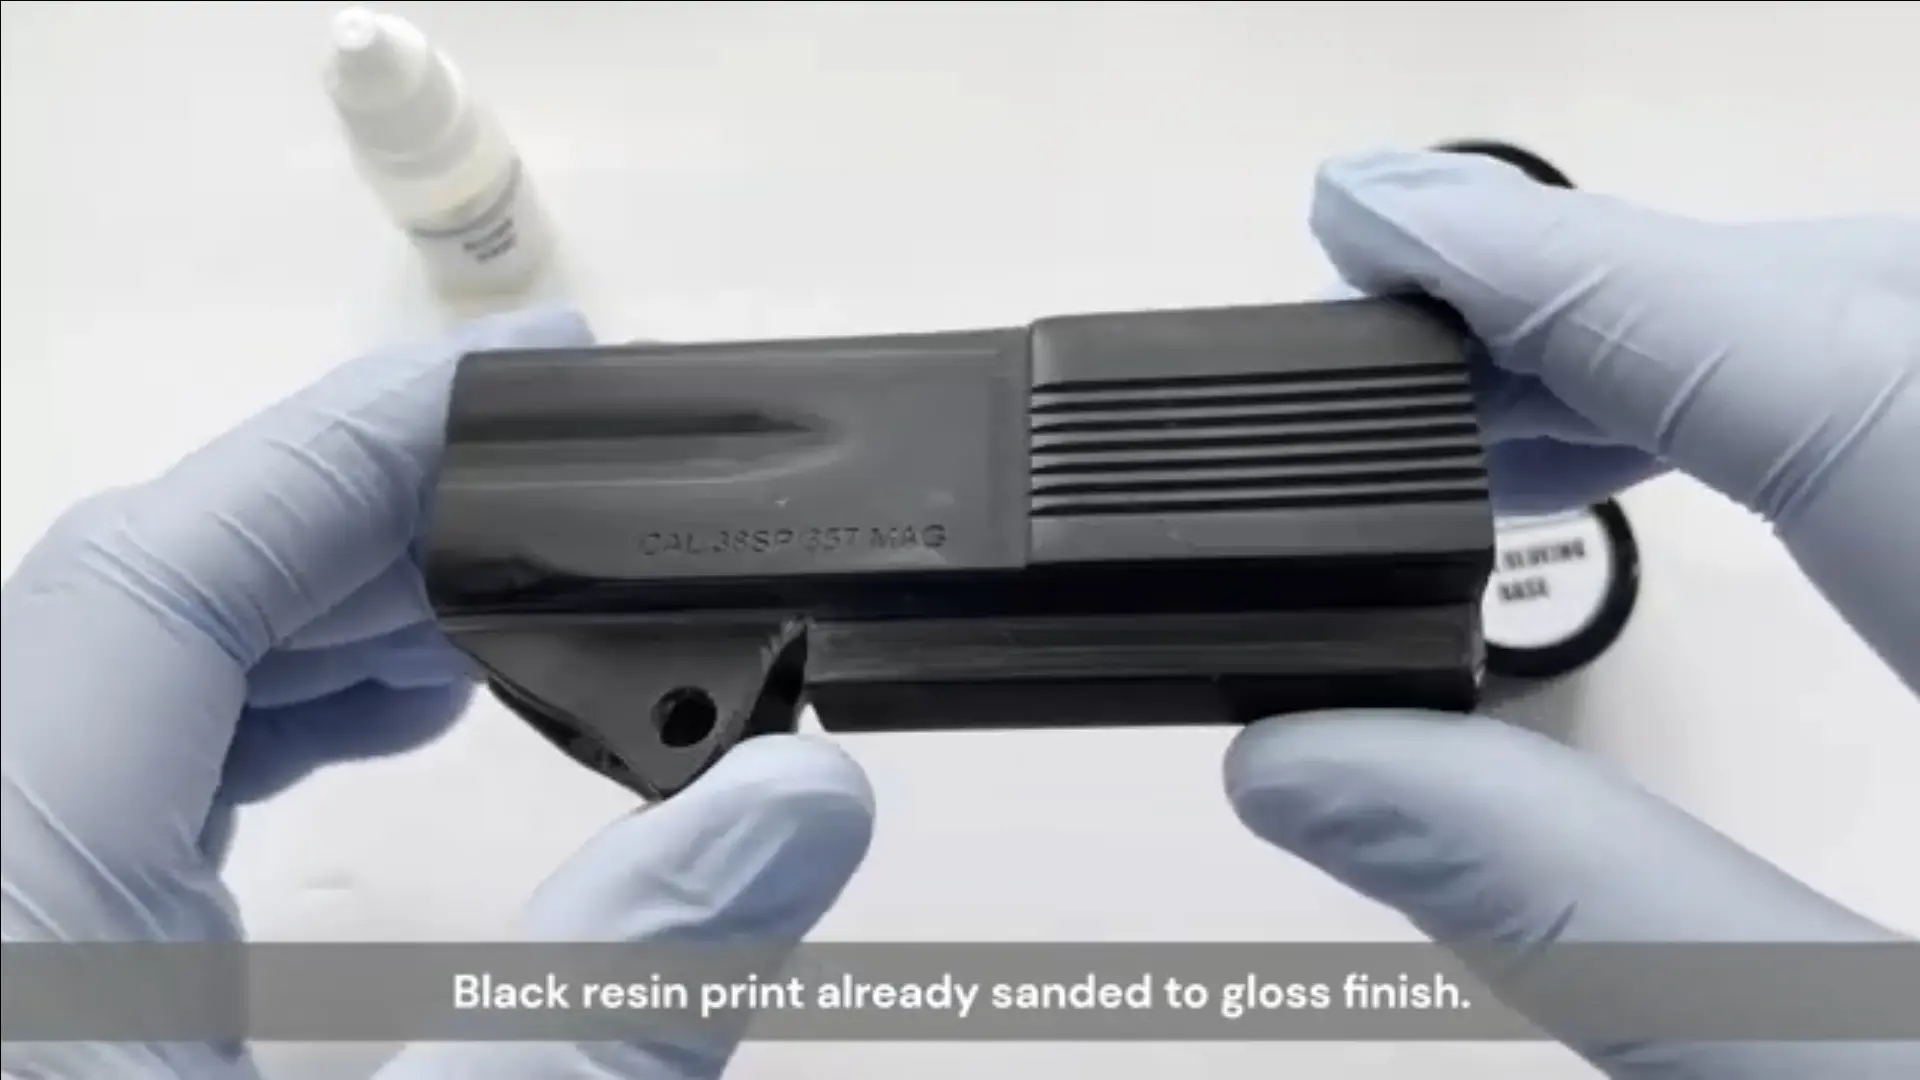
3D Printed Part Prior To Paste Application

Start With The 3D Printed Part Preparation

As with traditional painting techniques the quality of the final result is dependant on the finish of the part.
The kit is very forgiving in the surface quality of the part but if you want a nice shiny blued finish the resin part must be sanded and polished before applying the paste.
The usual method of sanding the part with progressively finer sandpaper or wet & dry still applies here.
With resin you may find all you need are the following grades of sanding paper: 600, 800, 1000, 2000. A high gloss finish may require higher grades up to 5000.

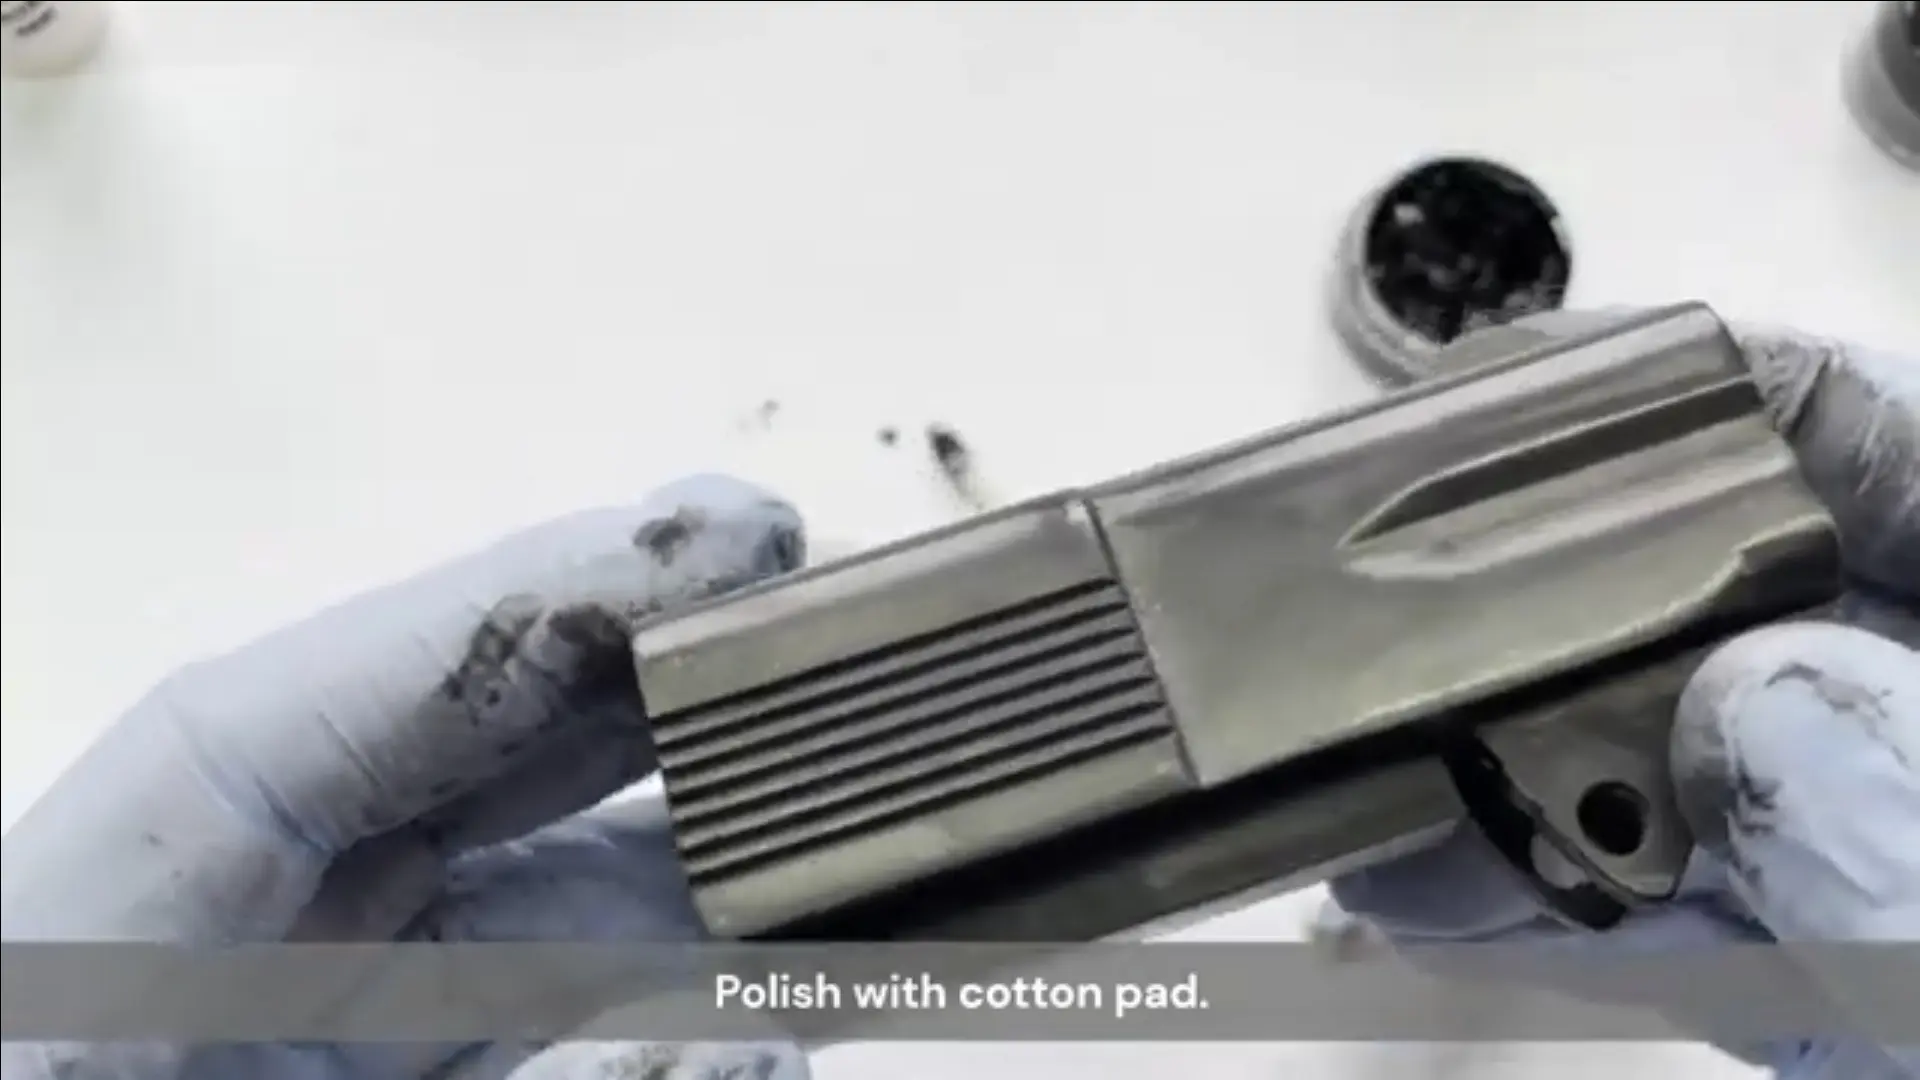
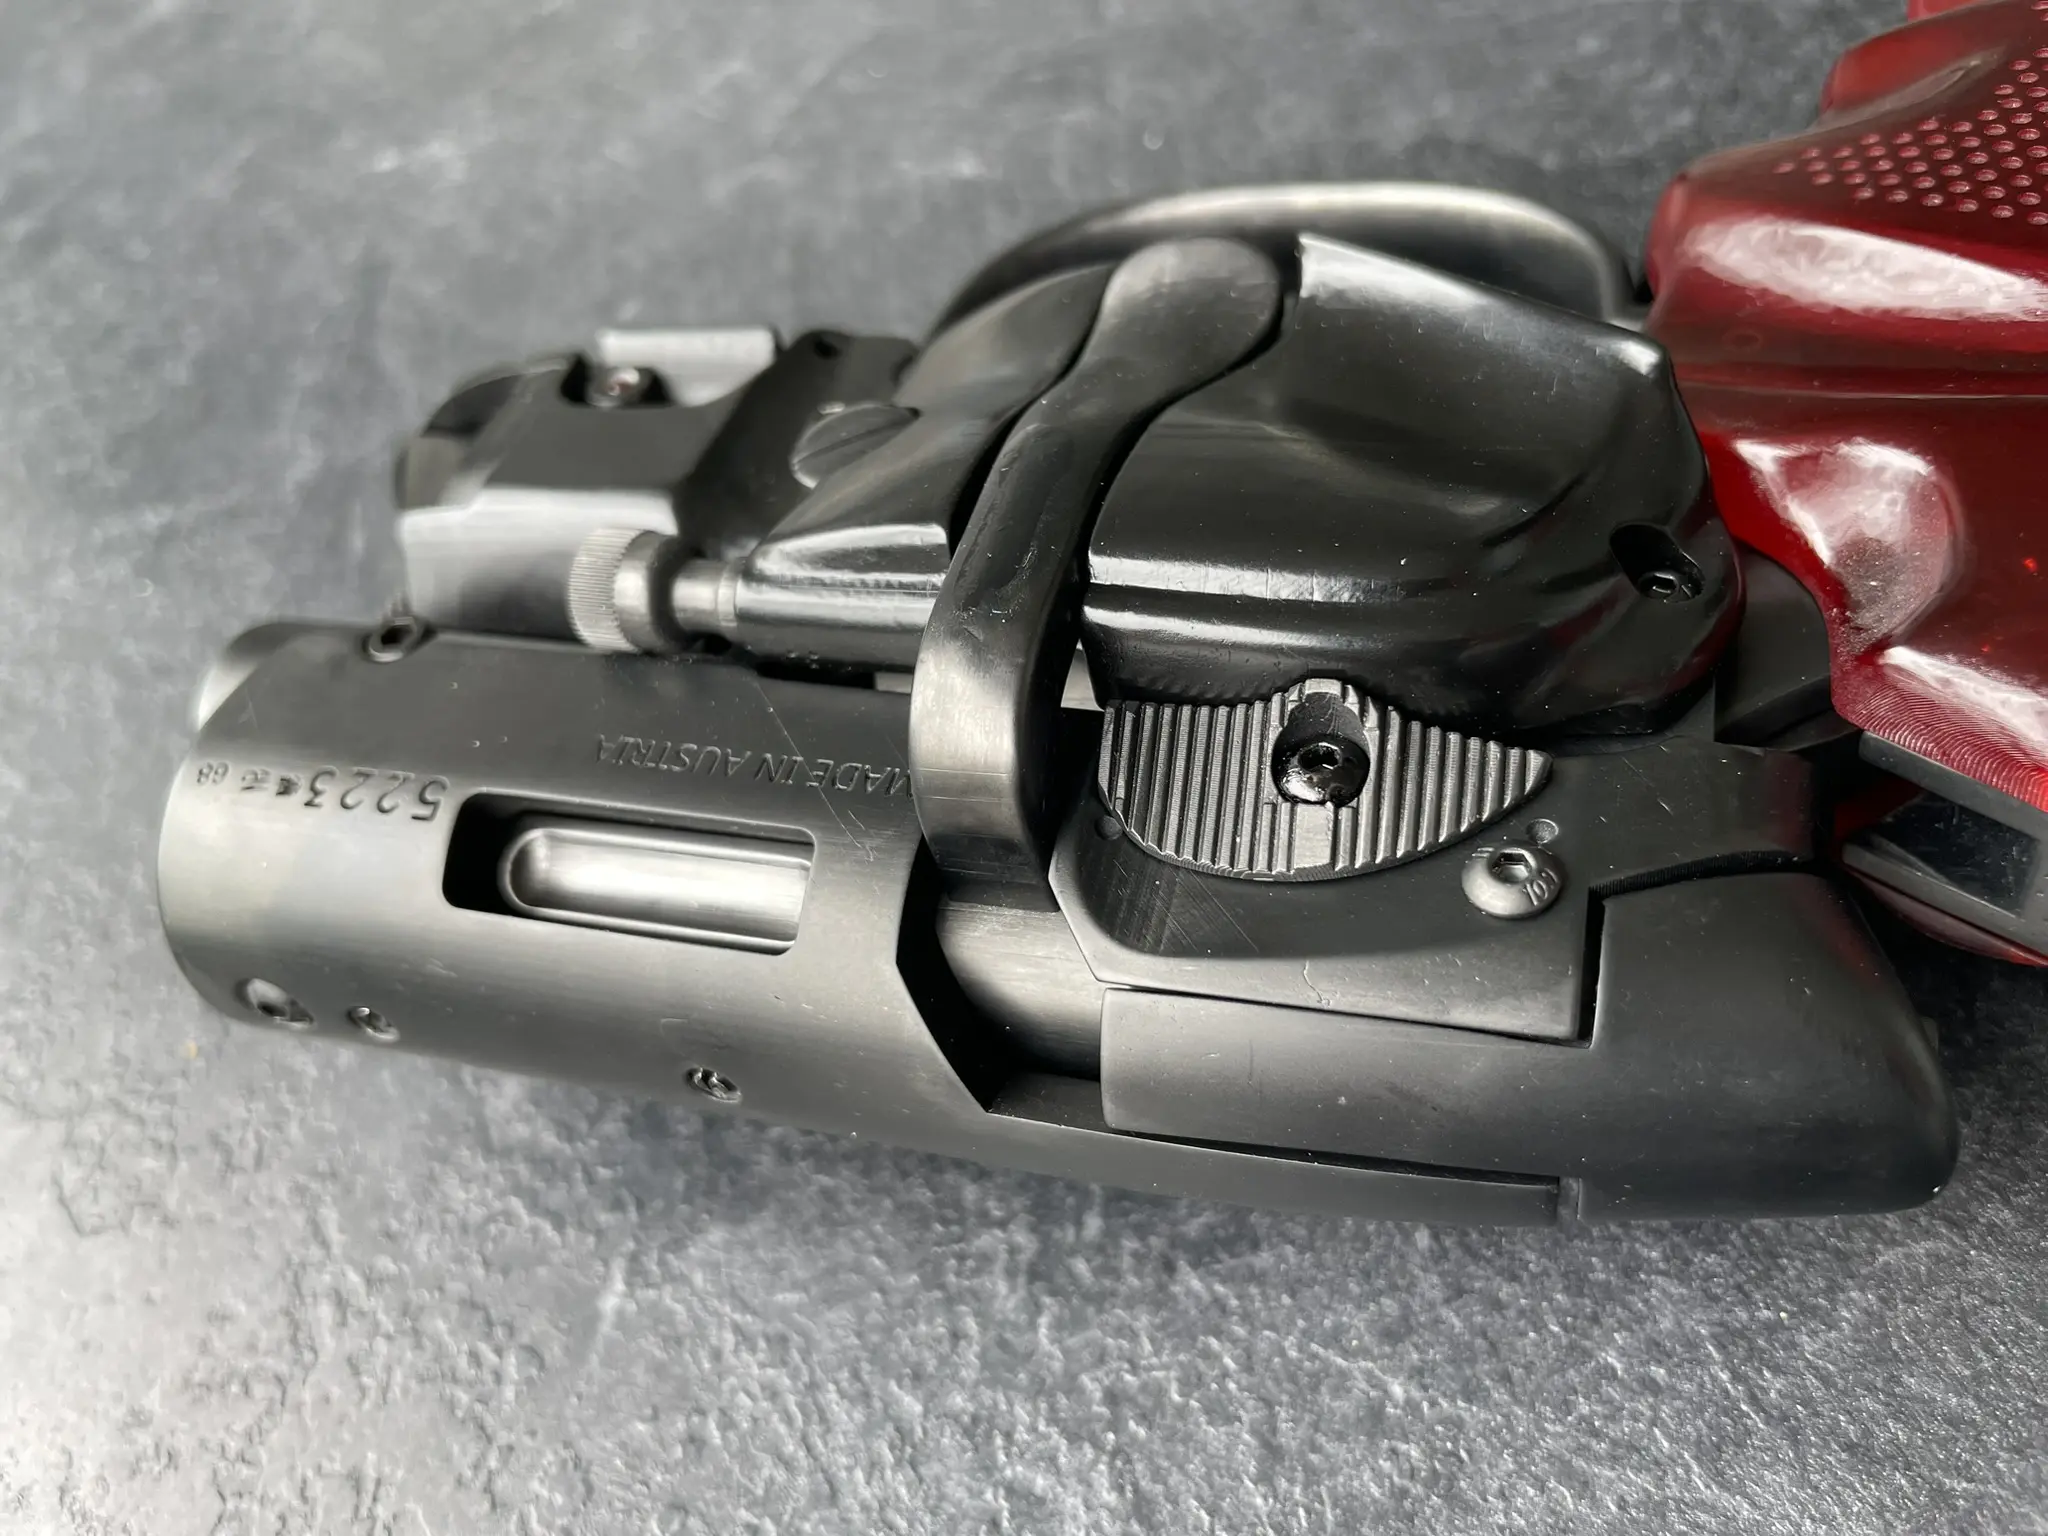
The image shows a part that has been polished to give a pretty good surface shine but way more time could have been spent to improve on this.

This example shows how good a finish you can achieve even with sub-optimal preparation.

Part ready for dark blueing effect for model guns

Kit Can Be Used On Other Parts

Other Surfaces

Although this tutorial shows the finishing kit being applied to black resin, it can also be used on other surfaces.
These include plastic model guns and in some cases already painted surfaces.
If the surface is not shing then use wet & dry to polish it up as much as possible to 1500 or 2000 grade.
If the surface is extremely shiny, such as plastic or glossy paint, then use the wet & dry at 1500 to 2000 grade to dull the finish slightly.
In this way the dark blueing effect may be applied to Airsoft weapons or other replicas.
In all cases the surface needs to be black before applying the dark blued effect paste.

Applying the dark blueing effect paste

Apply Blueing Paste To Entire Surface

Applying The Dark Blued Base Paste

Once the part surface has been prepared it is time to apply the dark blued effect base paste. Use a cotton bud or foam swab (Both are supplied in the kit) to work the paste into the surface of the part.
Start with small circular motions to really get the paste worked in and as it starts to dry wipe wipe along the length of the part until it becomes dry.
The paste contains a tiny amount of coarse graphite granules and these will spread to create tiny lines of lighter finish and you want these to appear in longer, straight sections. If you do not like this effect then simply apply more base paste over the top to hide them. This very subtle and really does add to the blued effect so unless you are trying to create a factory fresh blued finish leave them in.

Gun blue effect for model guns

Keep Applying Paste Until The Whole Part Is Covered

Apply Base Paste Over Entire Part

Keep applying the blueing base paste over the entire part and keep working any wet areas or areas with built up paste until it is all nice and flat. You may notice that the part starts to exhibit a blued effect even at this stage.
You should be wearing gloves during this process as the paste will stain your fingers very nicely.

Polishing the dark blued effect part

Polishing The Dark Blued Base

Polishing Stage

Leave the paste to dry for a couple of minutes.
Now use cotton pads to polish the entire part surface. As soon as you start to polish you will see the deep blued effect start to appear.
Pay attention to all the nooks and crannies and any angled recesses. You may need to use a cotton bud to get into small areas to give them a polish

Blued Effect After Applying Base Paste

Dark Blued Finish Completed

Dark Blued Effect Now Applied

Take a look at the finished part. Make sure any deposits of dried paste have been polished away and if any areas have been missed you can now re-apply the blueing paste and polish again.

If you are happy with the 'fresh from the factory' look you may want to stop here. 
If not then the next step is to apply a worn effect.

Note that the finish needs to be protected with a coat or two of clear coat applied using an airbrush. Do not attempt to brush on the clear coat.
Clear coat is supplied in the kit.

Applying metallic highlight powder

Applying A Worn Effect

Adding A Worn Effect

Using a clean cotton bud you can now apply the metallic highlighting powder to the areas of the part that you want to appear worn.
You can go as light or as heavy as you want here. It is entirely up to you.
Dip the cotton bud in the metallic powder and brush or dab it onto the areas of the part that would likely be worn in use. Work the powder into the surface with the cotton bud.
See the next stage for polishing. This is best done in small sections as handling the part may affect the highlighted sections before they are polished.

Polishing the metallic highlight powder for a worn effect

Use Cotton Pad To Polish Highlight Powder

Polishing The Metallic Highlighted Sections

Use a clean cotton pad to polish the applied metallic highlight powder. This should blend into the dark blued base to provide a convincing illusion of wear.
If you have applied too much you can always go over that section with dark blueing paste again.
Or if you have found after polishing that the highlight effect is insufficient simply apply more powder.

Repeat until the entire part has been treated.

Finished realistic dark blued gun metal part

The Finished Effect

Completed Blued And Worn Part

Now the finish is complete. You will have a deep, dark blued lustre and realistically worn areas.
Do not handle the part now without wearing gloves.

See the next optional stage before clear coating.

The part needs to be sealed using the supplied clear coat . This should be applied with an airbrush at 15 to 20 psi in a couple of medium applications.

You can also adjust the amount of shininess here by varying the thickness or number of clear coats.

The process of airbrushing is not covered in this article.

Advanced Bled Effect

Advanced Blued Effect

Optional Stage - Enhanced Blueing Features

If you want to add more depth to the dark blued effect this optional stage is performed before clear coating.
The dark blued finish is sensitive to the salts and moisture in your hands (Hence the instruction above to wear gloves) but this can be used to develop the deep rich tones like those seen on older firearms. This is subtle but noticeable.

For this step leave the part to dry for a few hours then simply handle the part with un-gloved hands. Be careful not to rub or smear the finish, just pick up the part and allow you fingers to touch the surface. I am afraid there is not really any fixed guidelines to this. Perform this action two or three times over the course of a day.

A word of warning, this technique can leave fingerprints on the surface but this is just how it looks if you touch the shiny blued surface of a real firearm. This can add greatly to the realism.

Once more let the part dry for an hour or two before clear coating.

Finished Deep Bled Effect

Closeup View Of Realistic Blued Finish Without Optional Stage

Final Deep Blued Effect Part

Your part is now finished. You will appreciate that the part only has a thin layer on it when it comes to reassembly. Those days of multiple layers of paint are over.

A lot of modern guns use different finishes now and a blued finish is not common. But if you are modelling older weapons such as the Blade Runner blaster, Colt 1911, Colt 1851 Navy or just want a classic look on your new sci-fi pistol or rifle this may just be the solution you are looking for.

Features

No More Thick Layers Of Paint

The blued effect, worn areas and clear coat are very thin. The overall thickness is much less than traditional painted techniques.

You Control The Finished Look

You have complete control over the shininess of the finish and the optionally worn look of those areas subjected to wear and tear.

Easy To Undo And Re-apply During The Session

It is simple to re-apply both the blueing base coat  and the metallic highlighting powder to achieve the exact finish you want before sealing with clear coat.

Much Faster Than Traditional Painting

 process is way faster than the traditional painting methods. A part can be prepared and clear coated within an hour.

© Copyright 2023 - 2024 Duplex Designs - All Rights Reserved
Email: support@duplexdesigns.co.uk